If you’re planning to do a help desk migration – or you’re starting to explore the possibility, and don’t want to get into something you can’t handle – you’ve come to the right place. It’s fair to say we have some experience in the matter, and we know that a successful migration requires careful planning and execution.
Many ITSM alternatives ask for specific help desk data migration solutions or tools to support the migration process. However, this usually means an extra investment of both time and money. But that’s not the case of InvGate Service Management. You can make an easy transition (and even have the basic setup ready in just a day) without the need for any extra resources than your data and our solution.
You'll migrate everything you need in the process — users, help desks, your service catalog, and the knowledge base — so the core of your service management operation is ready from the start.
Don’t believe us? Keep reading for a complete breakdown of everything you need to make a seamless migration to InvGate Service Management and take your IT Service Management to the next level!
When is it necessary to migrate from a help desk provider?
Deciding to move away from your current help desk provider rarely happens overnight. Most teams reach that point after running into the same operational problems again and again. Tickets take longer to resolve, teams rely on manual workarounds, and the platform that once supported your service operation begins to slow it down.
Organizations often try to adapt their processes to the tool for a while. Eventually, the gap between what the team needs and what the platform can support becomes difficult to ignore. When that happens, switching providers turns from a nice-to-have into a practical decision.
Here are some of the most common reasons why they choose to make this move.
1. Difficulty scaling your service operations
Growth tends to reveal the limits of a help desk system. What worked for a small team handling a modest ticket volume may struggle once requests increase and more departments rely on the service desk.
Queues start to build up, requests reach the wrong teams, and agents spend more time sorting tickets than resolving them. In many cases, the issue isn’t just volume — it’s the lack of structure to support a larger operation.
A help desk should allow you to organize work clearly as your service environment expands.
What to fix with InvGate Service Management
- Integrate multiple help desks organized by business unit, location, or service type so requests reach the right team from the start.
- Define agent groups and set basic assignment rules and automation to route tickets automatically instead of relying on manual triage.
For example, a company that grows from supporting one office to several sites — while also adding specialized support teams — can separate requests across help desks and agent groups. Tickets from different locations or services reach the appropriate team immediately, even as the support operation expands.
2. Inadequate service provision
A help desk should help teams deliver consistent support. When the IT service management software limits how requests are submitted or managed, service quality usually declines.
These gaps often appear when teams rely on email or generic ticket forms instead of structured request workflows. Over time, the lack of clarity slows down resolution and creates frustration for both agents and requesters.
What to fix with InvGate Service Management
- Standardize common requests through the service catalog so employees submit clear, predefined service requests instead of generic tickets.
- Reduce back-and-forth with request forms that collect the minimum information needed for diagnosis before the ticket reaches the support team.
3. Frustration among agents or management
Daily work with the help desk platform shapes how agents and managers experience the service operation. When simple tasks take too many steps, tickets arrive without clear ownership, or agents repeatedly answer the same questions, frustration builds quickly.
Over time, that frustration affects productivity. Managers often notice the effects in declining productivity, inconsistent workflows, or higher agent turnover. A complicated interface, limited reporting, or rigid processes can make routine service work harder than it needs to be.
What to fix with InvGate Service Management
- Define a simple triage structure using clear categories and ownership so tickets reach the right team and responsibility is visible from the start.
- Build a knowledge base that supports Tier 0 and Tier 1 support, allowing users and agents to resolve common issues without repeating the same answers across tickets.
4. Difficult vendor support
Vendor support plays a larger role than many teams expect. When problems arise, the help desk provider should respond quickly and provide useful guidance.
Delayed responses or limited assistance can slow down issue resolution and increase downtime. Reliable vendor support, on the other hand, helps teams keep the platform running smoothly and get more value from the tool over time.
If you’re running into these problems, it may be time to migrate to a new help desk. The next step is understanding how to move your processes and data without disrupting your service operation. We'll break down how to do it in the following section.
What can you migrate to InvGate Service Management?
One of the most common concerns before switching help desk platforms is what happens to the information stored in the current system.
Teams often worry they’ll need to rebuild their service desk from scratch. In practice, that’s rarely the case. Most of the operational structure behind your help desk can move into InvGate Service Management so your team can continue working with familiar data and processes.
Here are the main objects you can migrate:
- Users and agents – Employee accounts, support agents, and their associated groups.
- Help desks and queues – The different support areas that organize incoming requests.
- Categories – The classification structure used to organize and route tickets.
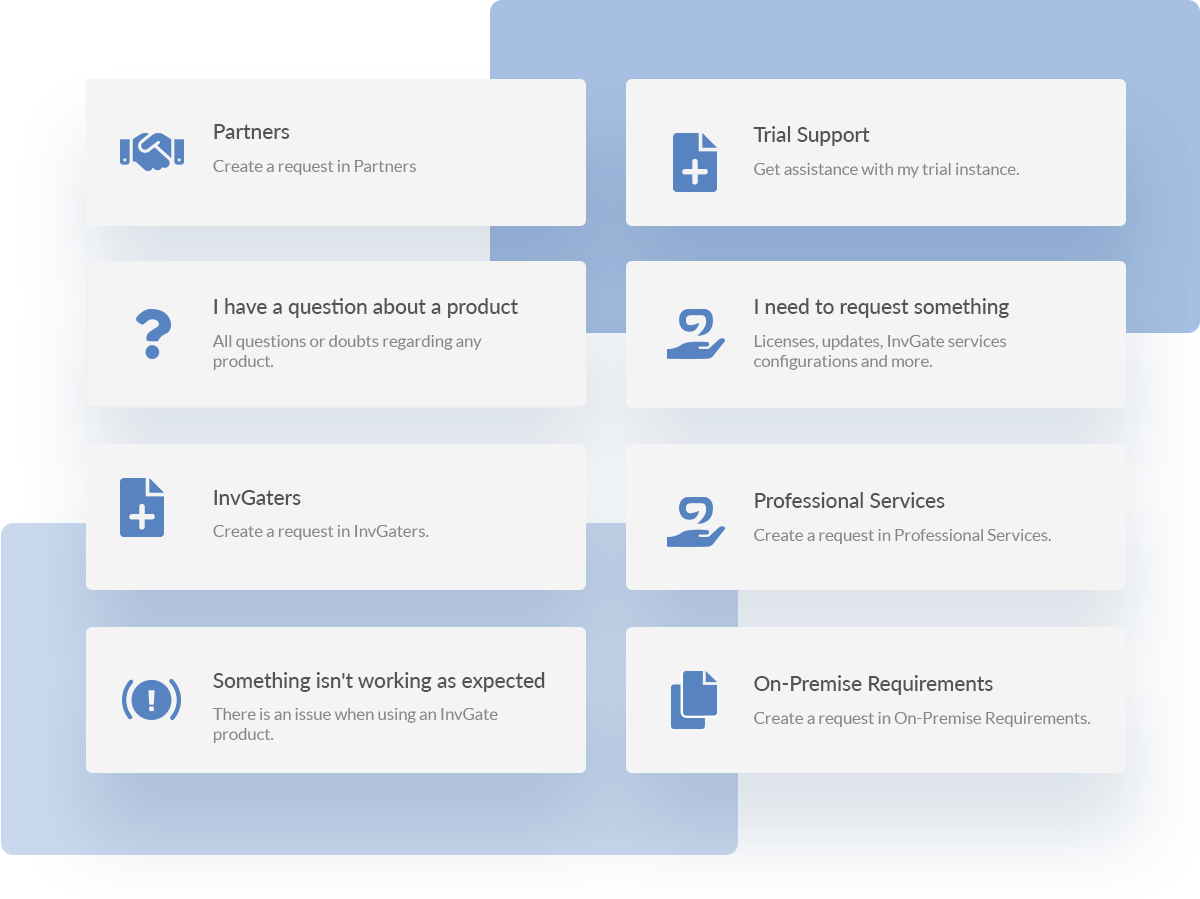
- Services and service catalog items – Standardized requests that define how employees ask for support.
- Knowledge articles – Existing documentation that agents and users rely on to resolve common issues.
Some elements may require light adjustments during the transition, such as refining service catalog items, simplifying workflows, or reviewing knowledge articles before publishing them in the new environment. Many teams take the opportunity to clean up outdated structures while migrating.
What to prioritize on day one
Not everything needs to be perfect before going live. A practical migration usually focuses on the core elements that allow the service desk to operate immediately.
Before you start: preparation steps
Once you decide to take the move, the first step is to lay the groundwork. Preparing for a help desk migration is a crucial phase that sets the stage for a successful transition to InvGate Service Management.
Ticking the following boxes off your list will make sure you have everything you need to smoothly start the process.
1. Identify gaps and improvement opportunities
Moving from one place to another (be it a home, a job, or, in this case, a tool) is a perfect opportunity to analyze the current situation and start off with the right foot. So, take this chance to work closely with your team and identify all the areas of improvement.
Discuss current pain points, bottlenecks, and gaps in your existing processes and help desk operations. Determine how InvGate Service Management can address them and optimize your workflows.
This exercise not only aligns your team with the migration objectives but also lets you improve and refine your Service Management processes, delivering more value to your organization and meeting business needs more effectively.
2. Clean your data
A migration also gives you the chance to review the information that powers your current help desk. Over time, most systems accumulate outdated records, duplicate users, unused categories, or knowledge articles that no longer reflect how support actually works.
Before moving anything to InvGate Service Management, spend time reviewing what’s worth keeping and what should be removed or simplified.
Start with a quick review of the most important elements:
- Active users and agents – Remove inactive accounts and confirm current teams.
- Useful ticket categories – Keep categories that still reflect real request types and remove outdated ones.
- Current knowledge articles – Review existing documentation and keep only the articles that remain accurate and relevant.
Completing this step means your help desk information is clean and ready to import, so the migration focuses on data your team will actually use.
3. Create a relocation checklist and timeline
Once you know what you’re migrating and your data is clean, the next step is organizing the transition itself. A clear checklist helps you track every element that needs to move into InvGate Service Management and prevents important pieces from being overlooked.
It helps to structure the migration around simple working blocks instead of a rigid schedule:
- Morning setup – Configure core elements such as users, help desks, and categories.
- Afternoon validation – Verify request flows, test service catalog items, and review knowledge access.
- End-of-day go-live – Confirm that tickets can be created, routed, and resolved correctly.
Another small but important step is identifying stakeholders to notify, such as support teams, department managers, and employees who will use the new service portal.
When this step is complete, you should have a clear validation plan and a defined go/no-go decision point to confirm the system is ready before going live.
Having a clear checklist and timeline minimizes errors, keeps the migration on track, and provides a structured approach to the transition. If you need assistance, this ITSM implementation checklist can be a good starting point!
Help desk migration plan: How to migrate to InvGate Service Management in a day
Now that you have your goals clear and have collected all the relevant information, migrating to InvGate Service Management is really simple. All you have to do is stick to the following steps, and your new help desk will be up and running in no time!
Do you want ot know more about our product's capabilities? Explore the product tour.
1. Create users
At a minimum, you will need to have agents and managers loaded into your instance to start working. You’ll probably also want to add end-users, including external customers and the other teams that require your support.
So, the first thing to do is to import all your users to your new instance. To do so, you can pick one of these methods:
- CSV or spreadsheet - This is the fastest and most universal way to import users. You can download our template, place your data, upload it, and be done in no time.
- Central location - If you have your user data stored in Active Directory, SCIM, or an LDAP source, you can configure those within “Directory Services.” For the former, this AD tutorial can guide you through the process.
Bonus tip: If you have Microsoft Identity, Google, or some other SAML or LDAP provider and activate this feature, users can use their main account to sign in without the need to create a special account on InvGate Service Management. To automatically register new sign ins or links with embedded credentials you can set it under the “Authentication” section.
2. Create help desks
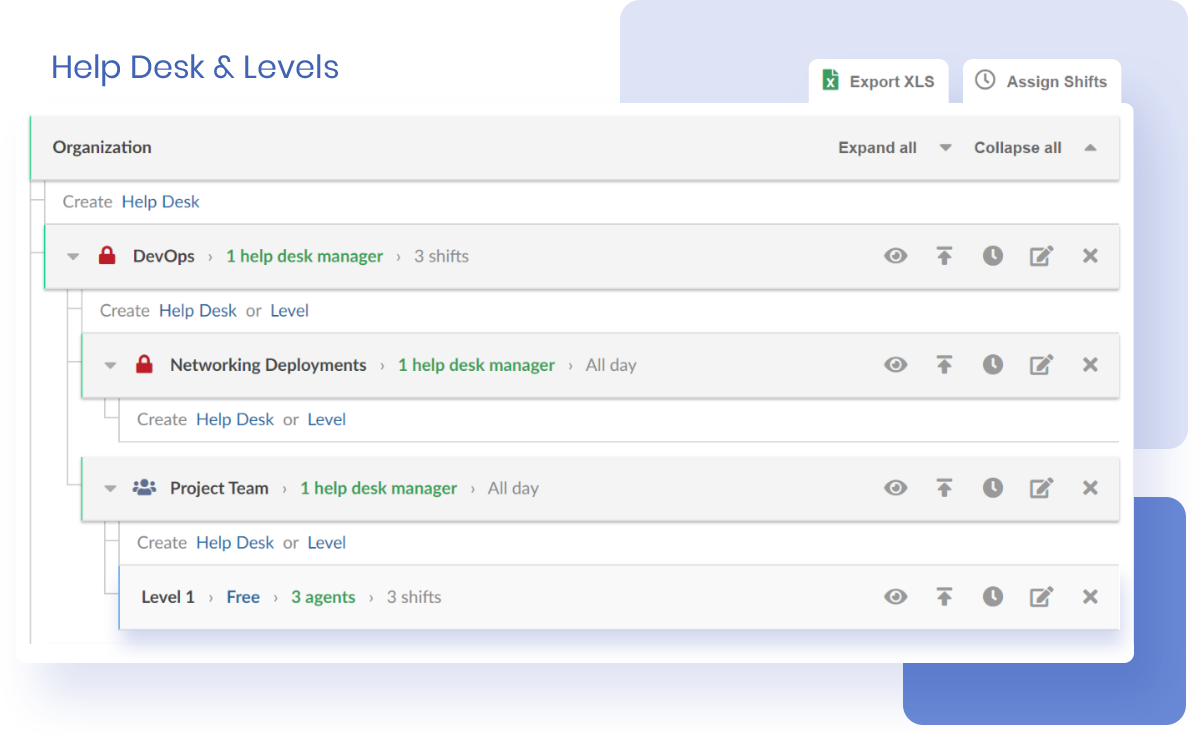
The next step is to build your help desks on InvGate Service Management, which can be done manually or by importing a .cvs file. If you have access to a similar file from your previous tool and can adapt it into the template provided by our solution, the CSV option is recommended in a migration process.
Within the configuration page, you can customize the following to adapt the solution to your organization:
- Set the predetermined help desk.
- Choose the ticket reassignment process.
- Add watchers (without extra charge!).
- Set the escalation rules.
- Set the working hours of each help desk.
At this stage, you can also let agents log their own absences (which is key to empowering them and ensuring correct ticket routing).
3. Create a service catalog
Once you have created your help desks, it’s time to build the service catalog to put together all the services offered by your teams.
On InvGate Service Management, the catalog has a tree structure tol help users find the right category as quickly and easily as possible.
You can do this manually or by loading a template. For the latter, the sample will be provided by the system, and all you need to do is download it, populate it, and upload it again. We highly recommend this option to migrate a pre-existing service catalog.
However, if you choose to do it manually, you have to create a category, select an icon, name it, and provide the descriptions and keywords.
Then, all that’s left to do is choose which team to assign this work to, and set the type of ticket this category creates. You can also check out the other tabs for additional options like customizing the form or adding custom fields.
4. Create a knowledge base
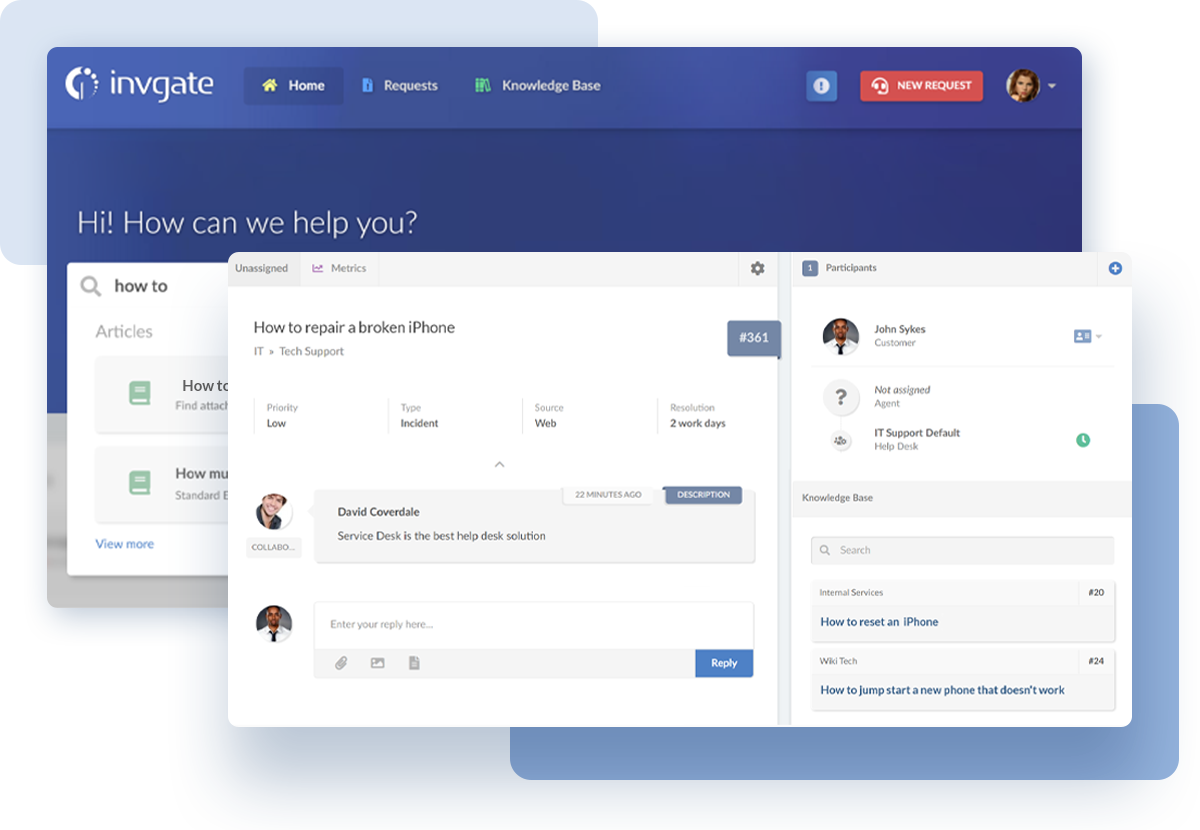
For your first setup to be complete, you need a knowledge base. On InvGate Service Management, you can either choose to migrate the articles you had on your previous tool through our API, or create them from scratch and customize them to your needs.
In both cases, the first thing to do is to configure your knowledge base by creating a few categories to add the content.
To create your articles, go to “Articles” > “New Article,” select the category and visibility, and create the content straight in the editor. Pro tip: take advantage of all the format options to improve your articles’ performance!
And there you go, you have your new help desk solution up and running in no time! If you still have further questions or doubts, we have a dedicated support team always ready to assist you. So, don’t hesitate to book a call!
Next steps
Once the migration is complete and the core setup is running, the focus shifts to stabilizing the new environment and helping teams adapt to it. These are practical steps you can start working on right away.
- Review SLAs and reporting. Adjust service levels and basic reports so they reflect the way your teams now receive and handle requests.
- Refine rules and automation. Add simple routing or assignment rules to reduce manual triage as ticket volume grows.
- Run a short agent training session. Walk support teams through the new request flows, categories, and knowledge resources they will use daily.
- Communicate the change to users. Share how employees should submit requests through the service catalog or portal.
4 help desk migration mistakes to avoid
Before wrapping up, we want to share with you all the potential pitfalls that can hinder the success of your transition. Avoid these common mistakes for a smoother and more effective migration process:
- Not benchmarking: Failing to benchmark your current service performance and costs before the migration can leave you without a baseline to measure improvements. Collect valuable data beforehand so you can assess the impact of the new environment and quantify the value it adds and the cost reductions achieved.
- Quick fix: record a simple baseline of your key service metrics before switching platforms.
- Trying to preserve all transactional data: While preserving important reports and KPIs is crucial for continuity, don't stretch it. Comparing historical metrics from the old system with the new tool may not be feasible. Be mindful of the transition date and consider differences in reporting between the old and new platforms.
- Quick fix: Focus the migration on operational data and knowledge that agents actively use, rather than attempting to replicate every historical transaction.
- Not taking advantage of the transition: Migrating to a new help desk platform presents an opportunity to explore and leverage new capabilities! Embrace the potential benefits that the new tool has to offer, and avoid replicating poorly performing processes from the old tool.
- Quick fix: simplify categories and request types before rebuilding them in the new system.
- Not collaborating with the end-users: Working closely with the team that will be using the new help desk platform can provide valuable insights and suggestions for improvements. It's the best way to ensure that the new system aligns with their needs and empowers them to excel in their roles.
- Quick fix: validate the service catalog and request flows with the people who will use them daily.
Key takeaways
A successful help desk migration doesn’t depend on moving everything at once. It comes down to preparing the right elements, setting up a solid baseline, and validating the new environment before fully switching over.
- Start with baseline configuration, then iterate.
- Migrate what you need for day one: users, help desks, service catalog items, and knowledge articles.
- Define your top request types first so your catalog and ticket flows reflect real service demand.
- Validate with a pilot request flow before go-live.
With careful planning, proper execution, and the right tool at your disposal, you can make painless help desk migrations that take operations to the next level.
Don't hesitate to explore the possibilities and benefits that InvGate Service Management has to offer – request a 30-day free trial and get started with your migration process today!