


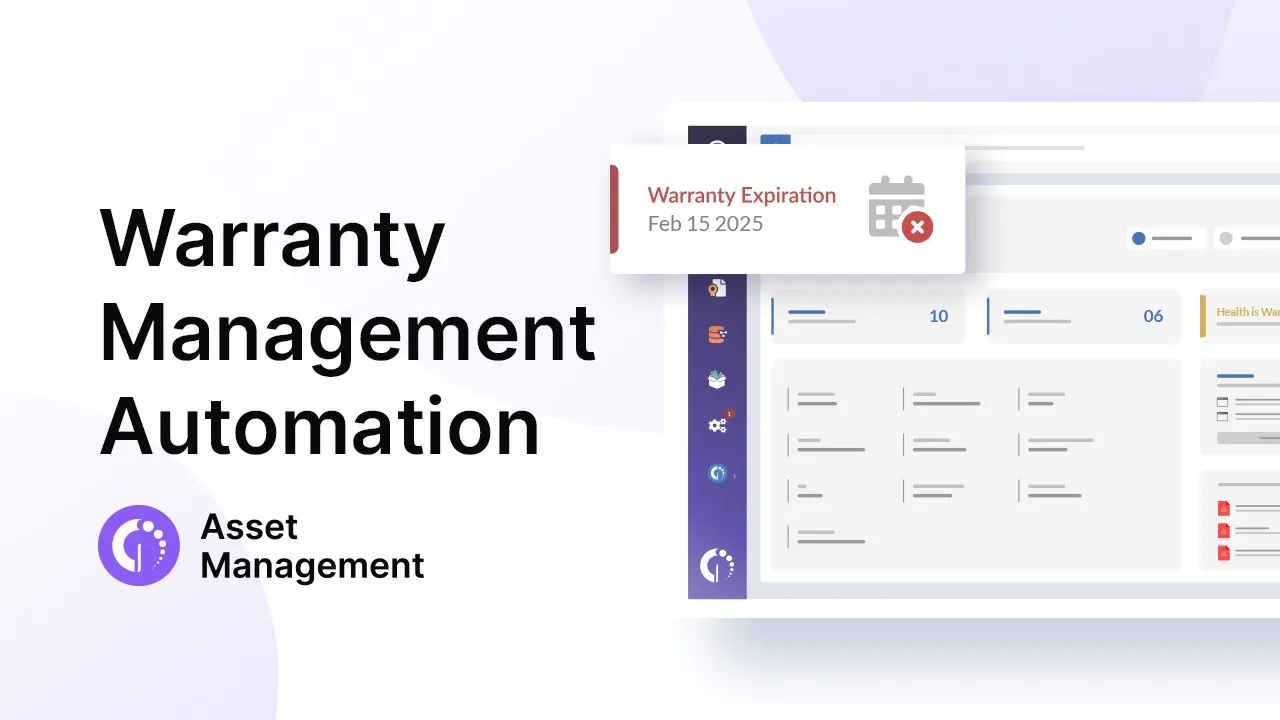
Warranty Management is crucial to the lifecycle of IT assets since it helps you optimize device usage, plan for replacements, and manage your IT budget effectively. In this sense, if your organization has Lenovo laptops and servers as part of its IT inventory, consistent Lenovo warranty checks are a mandatory step in your IT procurement plan.
Luckily, the brand offers a straightforward process for checking the warranty status of your laptops. However, since this is a manual task, it can fall short for IT professionals who need to check for multiple warranties at a time. Therefore, we have a cool tip to automate Lenovo warranty lookups with InvGate Asset Management’s API.
Curious about how it works? Keep reading to find out!
Warranty Management: How to Automate Hardware Warranty Checks
Why do you need to manage warranties?
Regardless of your company size, managing warranties is recommended to reduce operational costs. By tracking warranty periods, you can be alerted if defective equipment can still be handled by the vendor instead of you.
This will directly impact your maintenance and replacement expenses, as well as help you provide first-class IT support.

Recommended reading
Read Article
The ABC of Warranty Management
How to check Lenovo warranty online?
Each vendor has specific steps to check for warranties. Lenovo offers a way to search for warranties online by following these steps:
- Visit Lenovo’s Warranty Status Page.
- Once in there, you can either type in the device’s serial number (typically located on the bottom or in the system settings) or launch the Lenovo Service Bridge to automatically scan the device.
After fulfilling the steps, you’ll see the Lenovo warranty status, the remaining period of the warranty, the date the warranty coverage ends, and the option to update the warranty contract to improve the current service level.
Even though this can be done in just a couple of seconds, it can be very tedious if you’re an IT asset manager who needs to add hundreds of Lenovo laptops to the inventory after a big purchase.
You will have to type the serial number for each one or use each computer’s browser so that the online Lenovo warranty lookup tool can automatically scan it.
In short, this procedure can work perfectly for an end-user but is not scalable at all for companies. If you’re in this situation, the next section is exactly what you need to speed up the process.
How to automate Lenovo warranty checks
Usually, the IT department adds the warranty expiration date as part of the IT Asset Management (ITAM) standard operating procedure for procurement. First, they add the devices to the inventory, and then link the existing contracts to the assets.
But this doesn’t need to be a manual process thanks to automation. There’s a way for you to add all the purchased Lenovo devices to your inventory in bulk and automatically populate their warranty dates.
To add the devices automatically to your IT inventory, you can opt for one of these alternatives on InvGate Asset Management:
- Install the Agent.
- Use the Discovery feature (they need to be connected to your organization’s network first).
- Upload a .xls or .csv file with the list of purchased items.
Once they are a part of the inventory, it’s time to automate Lenovo warranty checks. To do so, just follow the instructions below.
The first step is to configure the integration. Go to Settings >> Integrations >> Warranty APIs and click on the icon to enable a new integration (here, you can also choose Dell laptops and IBM devices), and accept the confirmation message.
To complete the configuration, you will need the API key provided by the vendor. In the case of Lenovo, you have to contact your account manager or reseller and ask for it.
Once you obtain the key, go back to the integration configuration module and complete the requested fields. Save the configuration so that the synchronization can begin.
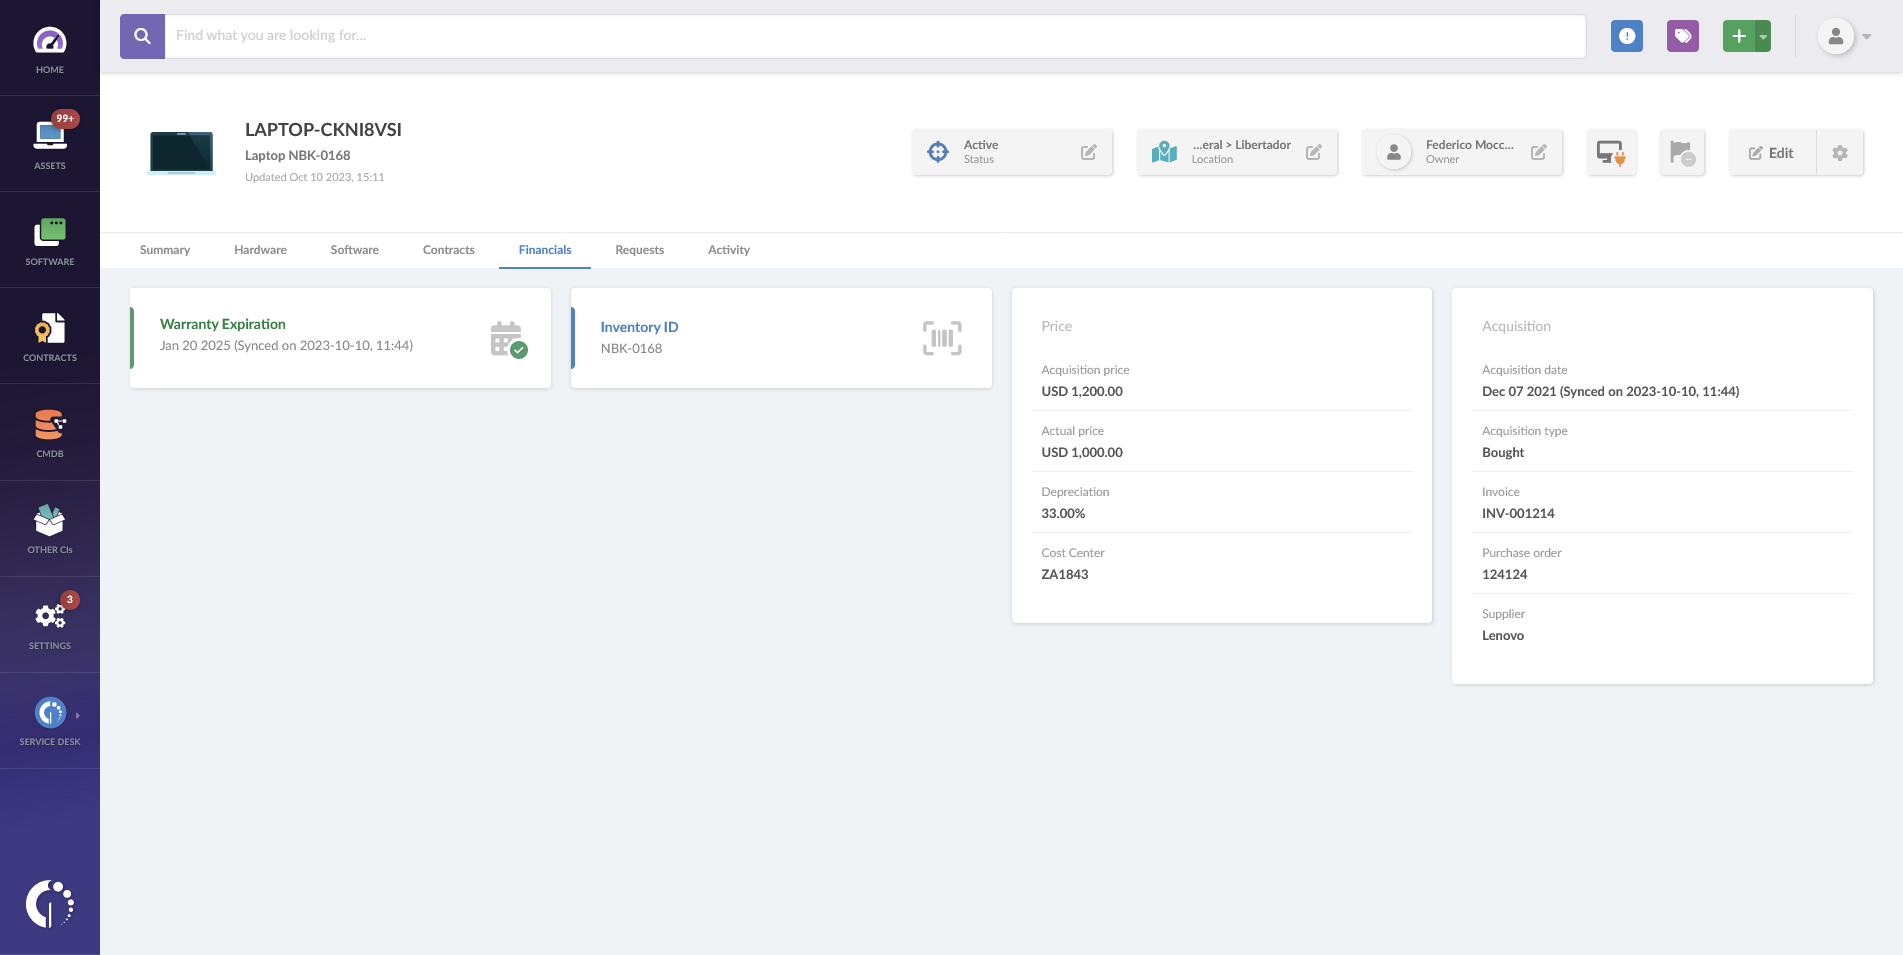
And that’s it! Now, you can see in the CI profile of all your organization’s Lenovo devices the fields “Acquisition date” and “Warranty expiration” filled in automatically.
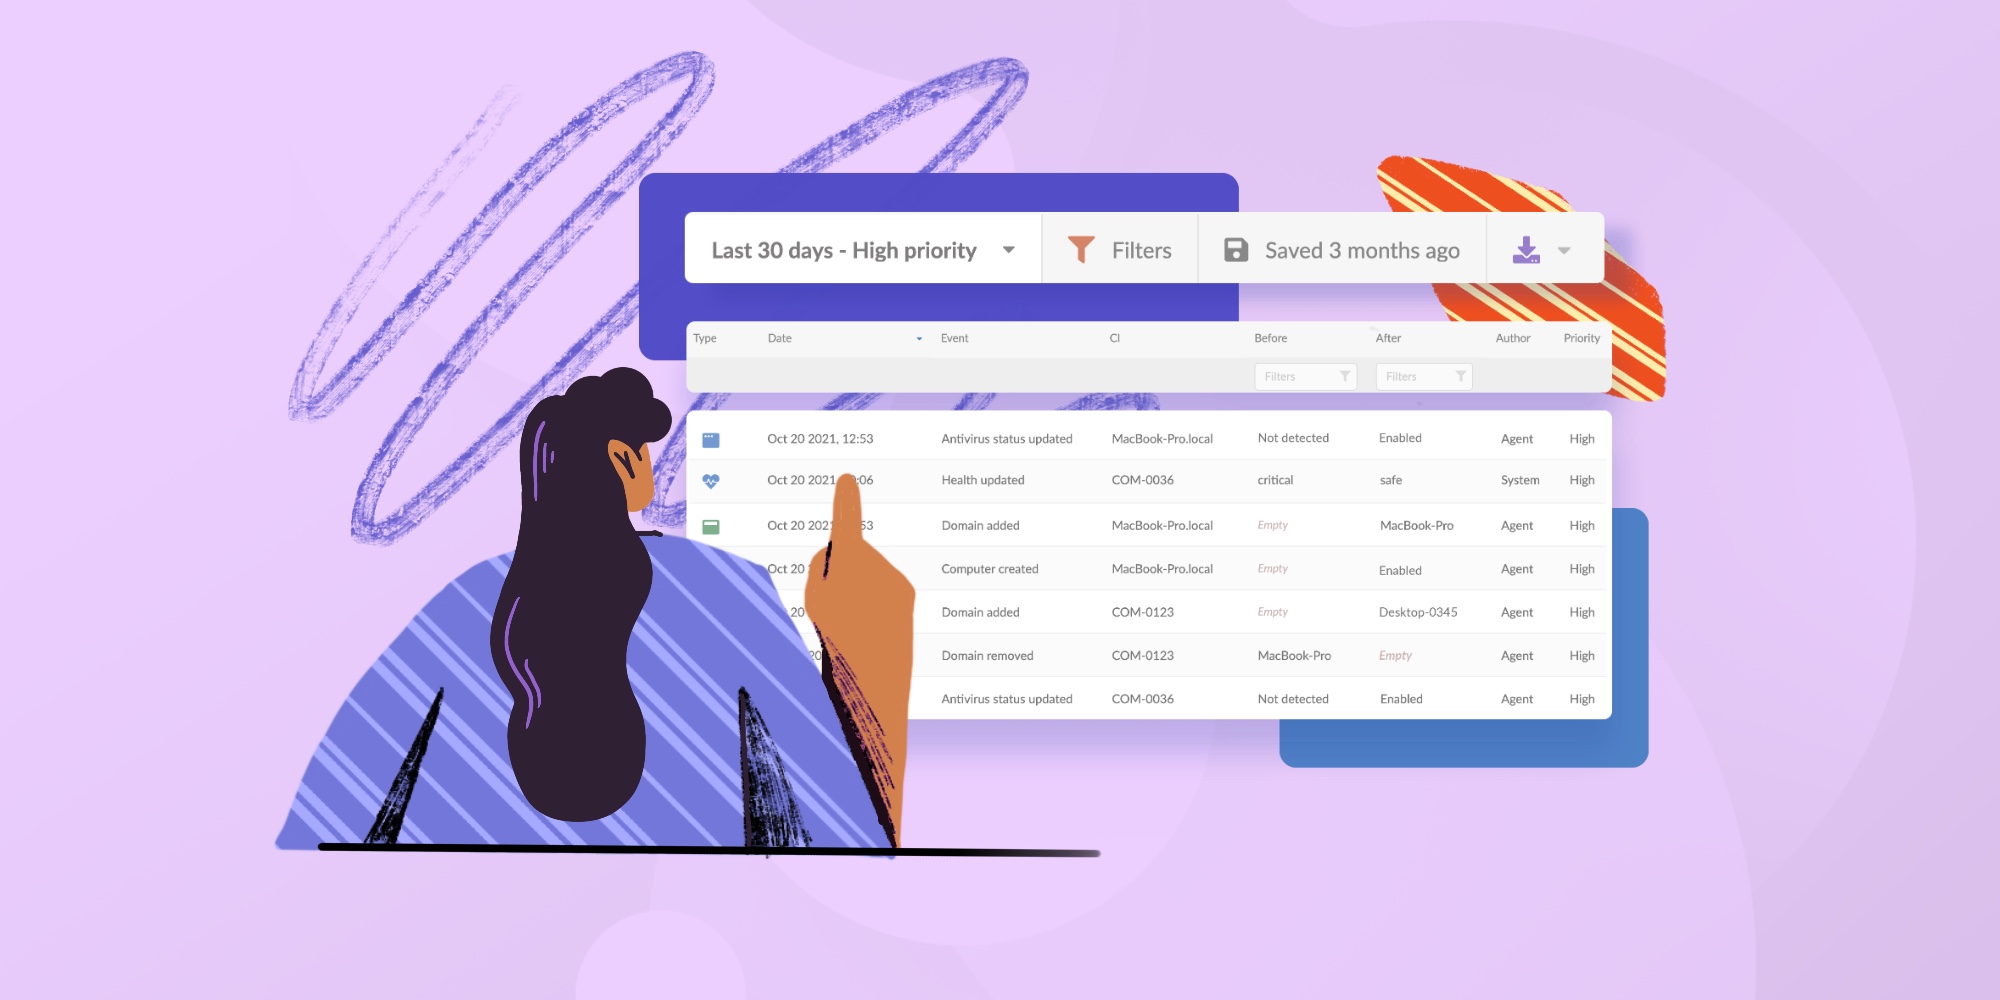
With this information populated on InvGate Asset Management, there are countless things you could do, such as:
- Create a customizable dashboard to monitor the warranty status of Lenovo devices.
- Set alerts to receive a notification whenever a contract is about to expire.
- Group your assets with active warranties with specific smart tags to improve tracking (for instance, you could create one to label assets with active warranties and open tickets). This will also enable you to create maintenance or device replacement plans.
- Know as soon as someone submits a ticket related to a hardware issue if the equipment is under warranty to contact the vendor.
Recommended reading
Read Article
How to Get a Unified IT Asset Inventory in 24 Hours
In short
Regularly checking the Lenovo warranty status of your organization’s laptops is a fundamental practice for IT asset managers. It ensures that devices are covered during operational life and aids in strategic decision-making regarding replacements and upgrades.
And though it might seem time-consuming, there’s a way to do it with almost no manual input. If you configure InvGate Asset Management to do Lenovo warranty lookups automatically and set a dashboard to track them over time, you will centralize your Warranty Management in one place while avoiding human (and sometimes costly) errors.
Want to give it a try? Just ask for our 30-day free trial and see how it works!

