Virtual machines (VMs) located on cloud instances allow organizations to run diverse workloads on a shared physical server, optimizing resource utilization and adaptability. However, managing and monitoring these assets can pose challenges for IT professionals, as they can sometimes be hard to track and visualize.
If you find yourself in this scenario, you need to learn how to integrate InvGate Asset Management with Amazon Web Services (AWS). By connecting the two, you’ll gain valuable visibility into virtual assets to closely monitor usage, analyze performance, and optimize resource allocation.
In this blog post, we bring you a step-by-step guide, providing you with a comprehensive solution for efficient IT Asset Management (ITAM).
So, without further ado, let’s see how it’s done!
What is the InvGate Asset Management-AWS integration used for?
The InvGate Asset Management-Amazon Web Services integration enhances the capabilities of ITAM tools to track and manage VMs on AWS cloud instances.
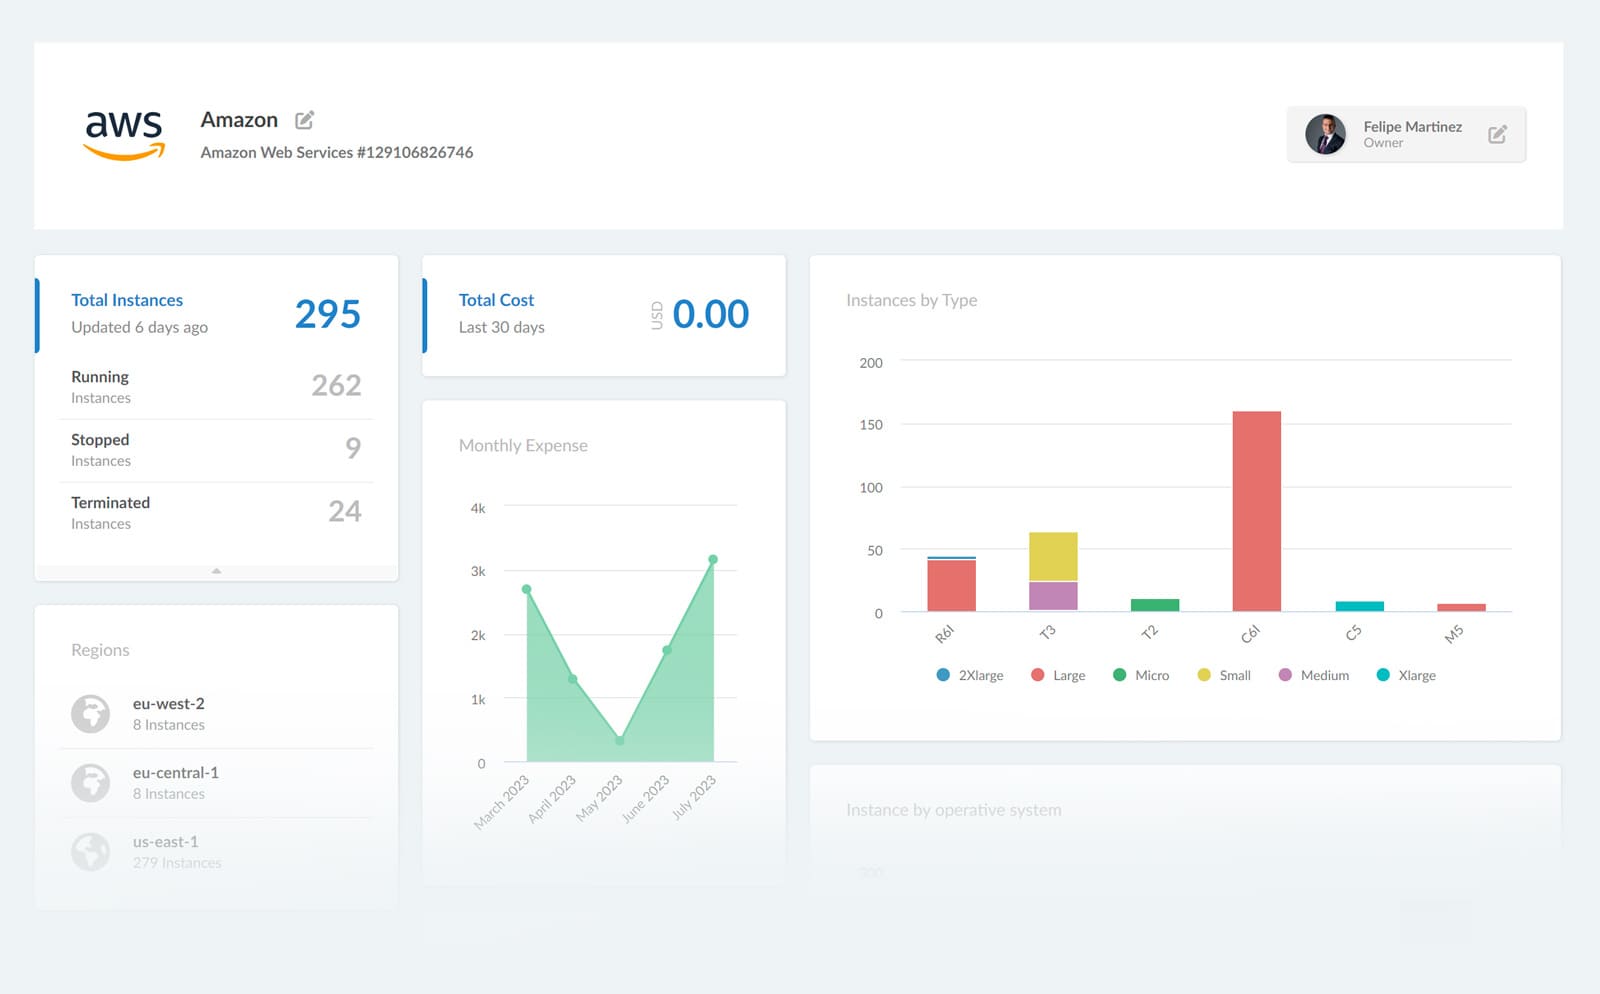
When linking the two, IT teams gain valuable insights into the performance, state, and usage of VMs. In addition, they are able to automate monitoring activities to act on issues regarding VMs as soon as they appear. For instance, they can apply smart tags and health rules for enhanced Risk Management.
Integrating both tools also allows you manage both on-premise and cloud-based assets from a single ITAM platform, including the relationships between them and reporting. At the end of the day, this allows for a consistent and proactive ITAM.
Prerequisites
Before we get into the integration process, it’s important to take into consideration that the connection works through an Application Programming Interface (API). So, to ensure a smooth and successful procedure, you must have access to both accounts with an administrator profile, and the API key credentials on your AWS account.
How to integrate InvGate Asset Management with Amazon Web Services
Once you have met the prerequisites listed above, the process is pretty simple.
The first step is the integration itself, which it’s done by configuring the Discovery feature. The second step consists of effectively running the Discovery, which scans your network looking for assets connected to it to be incorporated as well.
This will allow you to sync the VMs located in your AWS account and incorporate and track the data from AWS on your InvGate Asset Management instance. Let’s see how it’s done!
Step 1: Configuring the Discovery Source
To configure the Discovery Source in your InvGate Asset Management instance, log in as an administrator and navigate to Settings >> Network >> Discovery, and click on “Add Source” to create a new one.
Then, provide a descriptive name for the AWS Discovery Source to identify it easily and choose Amazon Web Services as the type of discovery source.
Now, you need to enter the API key credentials on AWS to let InvGate Asset Management access your AWS environment. Save the settings and your integration is ready!
Step 2: Pulling information into InvGate Asset Management
After configuring the Discovery Source, InvGate Asset Management will begin the discovery process, pulling information from your AWS environment.
The system will display a list of discovered items, which include your virtual machines running on AWS cloud instances.
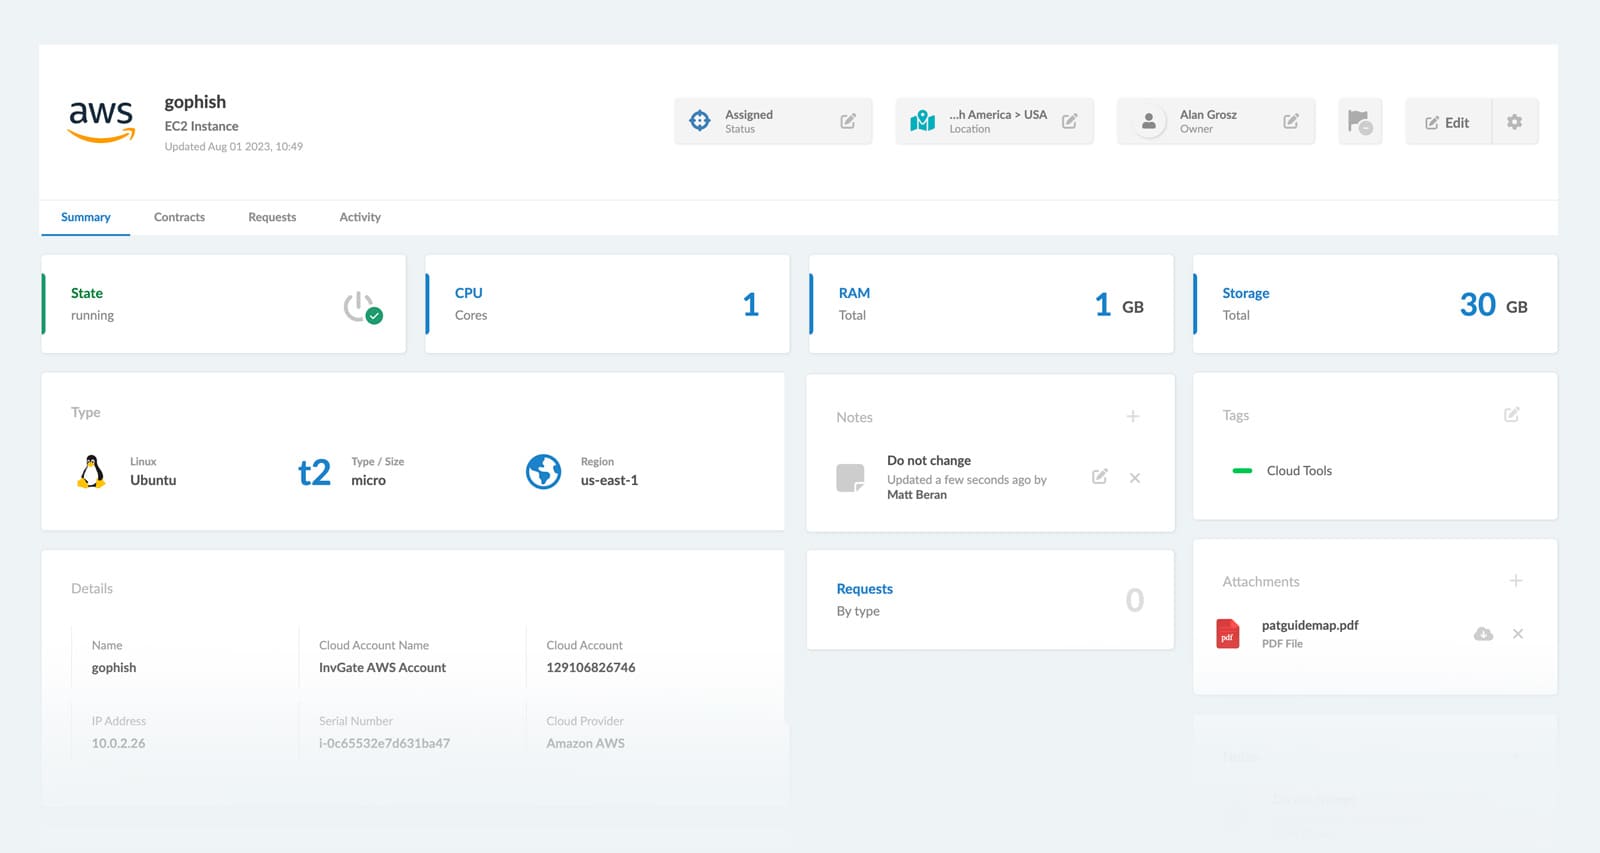
As part of the integration, InvGate Asset Management will automatically create the discovered virtual machines as assets within the system. These assets are enriched with detailed information:
- State
- CPU
- RAM
- Storage
- Type
- Name
- IP address
- Serial number
- Cloud account
- Provider
- Source of the asset (Discovery)
Next steps
Once you have included your VMs as assets to the system, you can manage them easily through InvGate Asset Management’s set of Asset Management features:
- Automate Risk Management features - You can set Health Rules and Smart Tags to monitor the security of your assets, ensuring they are safe and in compliance.
- Associate them in your CMDB - You can add the VM assets to the Configuration Management Database, promoting better organization and understanding of the relationships present in your IT environment.
- Monitor your associated contracts - Associate contract information with VM assets to ensure compliance and timely renewals. Automate notifications on InvGate Asset Management as reminders in the key moments of the contract lifecycle.
- Access the activity log - Regularly check the activity log to maintain an audit trail for VM assets, also promoting accountability and security.
Wrapping up
In essence, the InvGate Asset Management-AWS integration bridges the gap between ITAM tools and cloud computing, offering a comprehensive solution for managing virtual assets on AWS cloud instances. This makes it key for organizations operating in dynamic cloud environments, as IT teams can achieve comprehensive visibility and control over their cloud assets.
If you want to combine the power of both tools, book a call with our experts so they can help you out. And don’t forget that you can start exploring InvGate Asset Management right now with our 30-day free trial!
