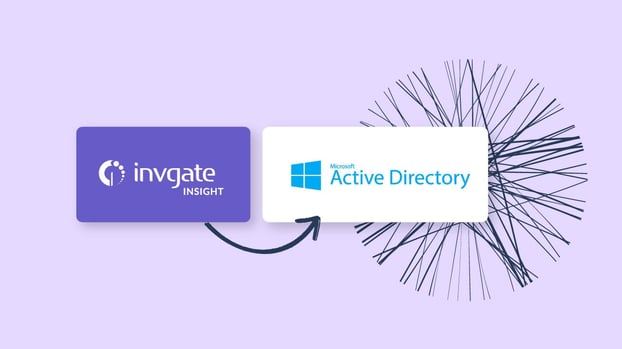
Efficient user provisioning and secure authentication are vital for organizations to streamline IT operations and safeguard their data. And that’s exactly what integrating InvGate Asset Management with Active Directory (AD) and Azure does.
The combined power of these platforms enhances User Management capabilities and establishes a robust framework for identity provisioning and authentication.
But, that’s not all! In this comprehensive guide we have set out the full range of benefits and capabilities this integration provides. We will also walk you through the process, providing clear step-by-step instructions.
So, let’s go!

Why do you need this integration?
Active Directory enables organizations to manage essential data such as users, locations, groups, security, applications, and permissions. By unifying your user data from your Active Directory instance into InvGate Asset Management, you can streamline the processes of your IT Management operations. On the other side, the integration with Azure will help you enhance user authentication and user provisioning.
Let’s explore the benefits of this integration:
- Centralized Data Management - This integration allows you to access comprehensive information on AD objects within your InvGate Asset Management instance, and eliminates the need for manual data entry or maintaining duplicate records. Technicians will avoid having to come back and forth from one tool to another to get or update the data. Thus, you can ensure consistency across systems.
- Improved asset visibility - All the information stored in AD and Azure can be categorized as an asset, so it makes sense to integrate it with your ITAM solution to have a truly holistic view of your IT infrastructure. By doing so, you can create relationships between your assets that include users, locations, and more.
- Enhanced User Management - With the integration in place, InvGate Asset Management can leverage AD attributes to assign and revoke access rights, permissions, and software licenses. This streamlines processes such as user onboarding and offboarding, reducing administrative overhead and ensuring security compliance.
- Streamlined reporting - You can easily create reports and dashboards to analyze users’ activity, permissions, and other relevant information. This simplifies IT reporting for compliance audits, and security assessments by providing accurate and consolidated data from Active Directory.
Prerequisites
Before integrating InvGate Asset Management with Active Directory, there are certain requirements and preparations you need to consider. It's important to ensure that you have the necessary information and level of access to successfully set up the integration:
- Access to InvGate Asset Management - Ensure that you are an Admin user to be able to navigate to the relevant settings and configure the integration. You can ask for a 30-day free trial to set this up!
- Active Directory configuration - Of course, you also have to make sure that your Active Directory is properly set up and functioning. This includes having accurate and up-to-date data on users, groups, permissions, and other relevant items within the tool.
- Access to Azure ID - If you want your users to be able to log with their unique user, you will need to perform this integration too. This tool will allow you for user authentication and provisioning in your InvGate Asset Management instance.
- LDAP connection details - To establish the connection between both platforms, you need to gather certain data. This includes the host or IP address, port (default is typically 389), security options (TLS, SSL, or none), domain, domain name, base DN, and user credentials. You can do this easily by using the Lightweight Directory Access Protocol (LDAP).
- Authentication credentials - Also ensure that you have the required details and credentials for authentication, such as the user's login URL, entity ID, IDP configuration, and certificate.
How to integrate InvGate Asset Management with Active Directory and Azure
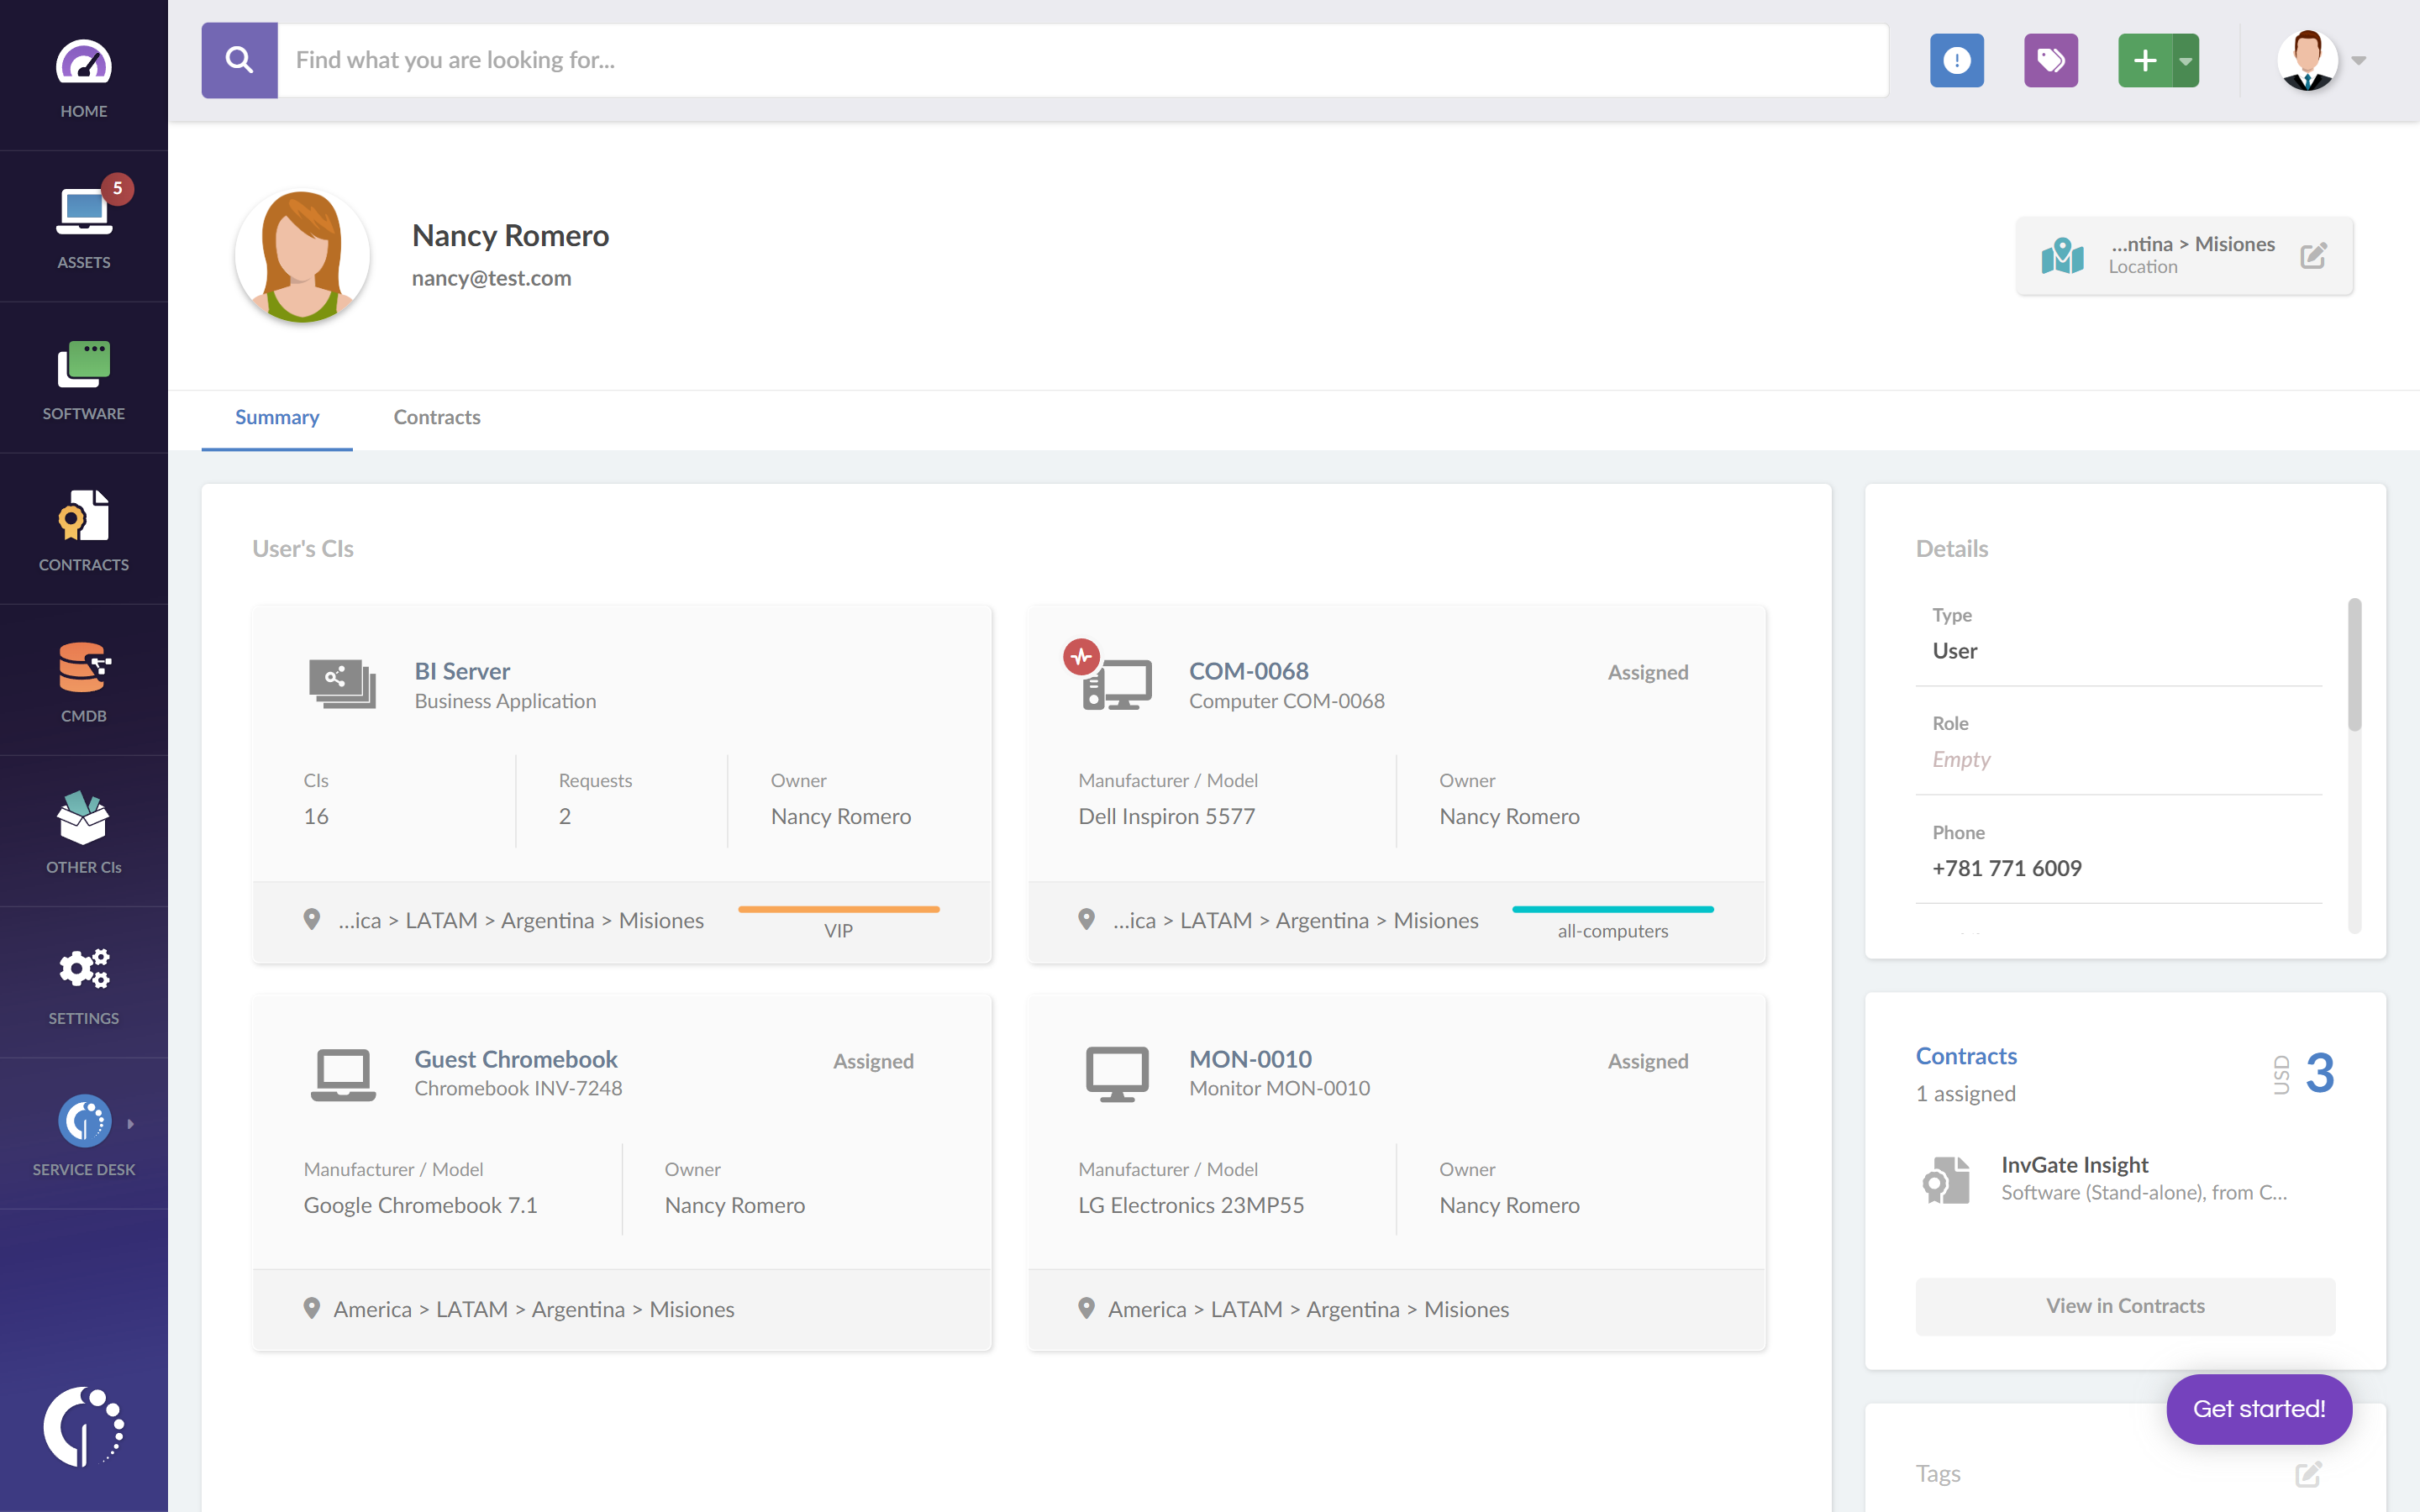
To achieve this process, you need to go through two stages. First, you have to integrate InvGate Asset Management with Active Directory to unify your database. Then, you can proceed to link it with Azure to perform user authentication and provisioning. Let’s see how to do this integration in a quick step-by-step guide.
Integrating InvGate Asset Management with Active Directory
Once you have all the data mentioned above, it is pretty simple to do the integration directly from your InvGate Asset Management instance:
- Log in to InvGate Asset Management as an Administrator.
- Navigate to Settings >> Users >> Directory Services.
- Click on the “Add” button to create a new identity provisioning method.
- Provide the following details:
- Name: Set a name for the integration.
- Host or IP address. Port: By default, the port value is 389.
- Security: Select TLS, SSL, or none.
- Domain: Enter your directory domain.
- Domain's name: This value will autocomplete if you have filled in all the previous information.
- Base DN: This value will autocomplete if you have filled in all the previous information.
- DNs: This field is optional and allows you to enter each of your DNs on separate lines.
- User or DN: Input the user credentials for the configuration.
- Password: Input the password credentials for the configuration.
- Auto import new users: Check this option to import all new users after each synchronization. If you want to import only specific users, leave this option unchecked and manually select them later.
- Schedule: Check this box if you want to schedule each synchronization.
- Authentication: Enable authentication with Active Directory.
- Auto-provisioning: Import users when they log in for the first time.
- Role: Select the role for new technician users (default: Standard Technician).
- Save the changes. And there you go! The configuration is already enabled by default.
Integrating InvGate Asset Management with Azure
To integrate InvGate Asset Management with Microsoft Azure for user authentication and user provisioning, you need to follow the steps below:
- Log in to the Azure portal using the Azure Administrator profile at https://portal.azure.com/.
- Access the "Enterprise Applications" section and create a new application by selecting "Create your own application."
- Set an identifier name for the new application and select "Integrate any other application you don't find in the gallery."
- Save the changes, and the application will be successfully created. Next, configure the single sign-on by selecting the SAML login method.
- In the login settings, edit the basic configuration and enter the following information:
- Identifier (Entity ID): This is the URL of InvGate Insight.
- Reply URL (Assertion Consumer Service URL): This is the URL of Insight pointing to SAML (e.g., https://URL_Insight/saml).
- Save the changes in Azure.
Now, you need to configure the Insight application with the information provided by Azure. To do so, do the following:
- Define the User Identifier by clicking the "Edit" button inside the "User Attributes & Claims" box.
- In the new screen, choose "Unique User Identifier (Name ID)" and select the "user.mail" option as the identifier.
- Save the changes and modify the following attributes: first name, last name, and email. Ensure that the "Name" space field remains blank. If it's automatically filled, delete the value.
- Similarly, edit the configuration for other attributes and define the corresponding properties between Azure and Insight.
- Scroll down to the SAML Signing Certificate box, click the “Edit” button, and choose "Sign SAML response and assertion" as the Signing Option.
- Save the changes, and the application is now configured.
Once this is done, you’ll need to fill in the information provided by Azure on Insight. In addition, you might be required to add Users and Groups to the application in Azure based on your portal configurations.
To do so, collect the following data from the Azure portal:
- Microsoft Entra ID (formerly Azure Active Directory) identifier: This value is placed in the Entity ID in Insight.
- Login URL: This value is placed in the Login URL in Insight.
- Certificate (Base64): Download this file from Azure. And, on Insight, upload the certificate file in the Certificate section, selecting the PEM format and Public Key as the Type. If the certificate is already in PEM format, you can directly download it from the certificate edition section in Azure.
After that, go to InvGate Asset Management's configuration screen and enter the data obtained from Azure as specified. When you're ready, hit "Save" and log the changes.
Next steps
Once your integrations are ready, it is time to configure user Authentication and Identity Provisioning. InvGate Asset Management allows you to do it through SAML 2.0. Let’s see how it’s done.
How to set your authentication services
When your Azure authentication service is set up, log in to InvGate Asset Management as an Administrator and do the following:
- Navigate to Settings >> Users >> Authentication.
- Click on the “Add” button to create a new authentication method.
- Provide the following details:
- Name: Set a name for the integration.
- Type: Select the SAML 2.0 option.
- Login URL: Enter the shared address portal you are configuring.
- Entity ID: Enter the shared URL that identifies the portal you want to configure.
- IDP Configuration: Select the type of certificate generated in the application.
- Certificate: Upload the certificate generated by the application.
- Login button text: If you need to place a custom text for the login button with SAML, enter it in this field.
- Assertion Consumer Service (ACS) URL: This URL will be necessary for the identity provider configuration and points to the Insight URL for SAML.
- Auto provisioning: Check this box to import users when they log in for the first time.
- Role: If auto-provisioning is enabled, select the role to be automatically assigned to new users.
- Save the changes.
Once again, remember that the configuration is already enabled by default.
How to configure the Single Sign-On (SSO)
If you want to enable the Single Sign-On (SSO) for user login, this is the way:
- Go to Settings >> Users >> Authentication on InvGate Asset Management.
- From the Single Sign-On dropdown menu, select the authentication service you have configured (e.g., Active Directory or Azure).
- Save the changes.
And that’s it! Your provisioning and authentication configuration is ready.
To sum up
Many organizations heavily rely on Active Directory as a central repository for managing users, groups, permissions, and other crucial information. Though it might be hard to be seen as such, they are part of your IT assets, and thus should be connected to your ITAM solution.
By integrating InvGate Asset Management with Active Directory and Azure, you’ll have all your IT assets in one place, simplify User Management processes, and ensure consistency across the IT infrastructure.
In addition, you’ll be able to centralize user authentication and provisioning for unified User Management. This way, you can enhance Asset Management, security, productivity, and user experience.
Ask for InvGate Asset Management’s 30-day free trial and start boosting your IT operations!
