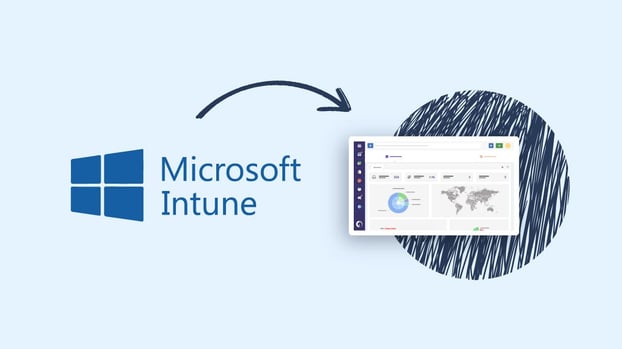
As part of our ongoing efforts to further optimize our customers IT Asset Management (ITAM) operations, we are pleased to announce that InvGate Asset Management can now be integrated with Microsoft Intune.
In short, this integration enables you to add Intune as a discovery source, so that you can access more information on the Microsoft assets in your IT inventory right from our ITAM solution.
Join us as we explore how combining both tools can benefit your Device Management capabilities. Also, we will provide you with the step-by-step process to implement it.
Let’s get into it!

Why do you need this integration?
Integrating InvGate Asset Management with Microsoft Intune enables organizations to add this software as a discovery source. This means that now, you have the option to add Microsoft assets to your inventory by using the Agent, the Discovery Network module, or connecting Insight to Intune.
For Microsoft Intune users, this means they can now incorporate all the devices they manage in that system (and their relevant information) into Insight, avoiding having to go back and forth between platforms and centralizing operations.
In essence, combining both tools improves customers' experience with InvGate Asset Management by offering a unified Asset Management tool that looks over their whole IT environment, strengthening Device Management capabilities and effectiveness.
How to integrate InvGate Asset Management with Microsoft Intune
The process of integrating both platforms consists of two main actions; first, configuring your credentials in Intune, and then setting up the integration in Insight.
Let’s break down the process into actionable steps.
Step 1: Configuration of credentials in Microsoft Intune
For the first step of the process, it’s important to note that whoever will take this action must both have an administrator account and have the permissions to create a new application, as well as to assign the permissions to it.
With that being said, to configure your credentials within Intune follow the steps listed below:
- Access the Azure portal and click first on “App registration”, and then on “New registration” to register the new application.
- There, enter the name for the application (we recommend a descriptive name, which could be “Insight”), and assign the organization's tenant. Then, click on “Register”.
- Once the app is created, access it and go to the “API permissions” section. Then, click on “+Add permission”.
- Within “Request API permissions”, select Microsoft Graph, click on “Application permissions”, and add the following permission:
DeviceManagementManagedDevices.Read.All - Once the permission is selected, click on “Add permission” to continue. It’s important here to review the status and ensure that the permission is guaranteed for the entire tenant.
- After this, go to the “Certificates & secrets” section, then “Client secrets”, and click on “New client secret.”
- There, enter a description that will be used to identify the client secret and select the expiration time (time in which the credential will expire), and click on “Add” to continue.
- To finish the process you must copy the information provided by the system. This will be required for the configuration within Insight. It’s important here not to lose it as it will not be shown again.
Step 2: Configuration of the integration in InvGate Asset Management
Once you have noted your Intune credentials, the next step is to set up the integration within InvGate Asset Management.
To do so, take the following steps:
- Within the platform go to Settings >> Network >> Discovery sources and click on "Add."
- Enter the required information:
Name: Enter a name for the integration.
Type: Select Microsoft Intune.
Client ID: Enter the Client ID obtained from Azure.
Client secret access key: Enter the key obtained from Azure.
Tenant ID: Enter the Tenant ID obtained from Azure. - Once you have completed these fields correctly, click on "Validate and continue."
- After this, you have to fill out the integration's operational options in the following way:
Credentials: Saved credentials that can be changed by clicking on "Change".
Operating systems: Select the operating systems offered by Microsoft Intune to synchronize the devices with those selected operating systems in Insight.
Remove action: Select the desired action in Insight for when devices are deleted or unsynchronized in Intune.
Additionally, here you can set a date and time for synchronization, as well as synchronization repetitions.
And there you go! After incorporating and applying these details, your integration will be up and running.
Remember that, if you have any doubts or need further assistance, you can always contact our support team who can guide you through the process.
InvGate Asset Management and Microsoft Intune integration in action
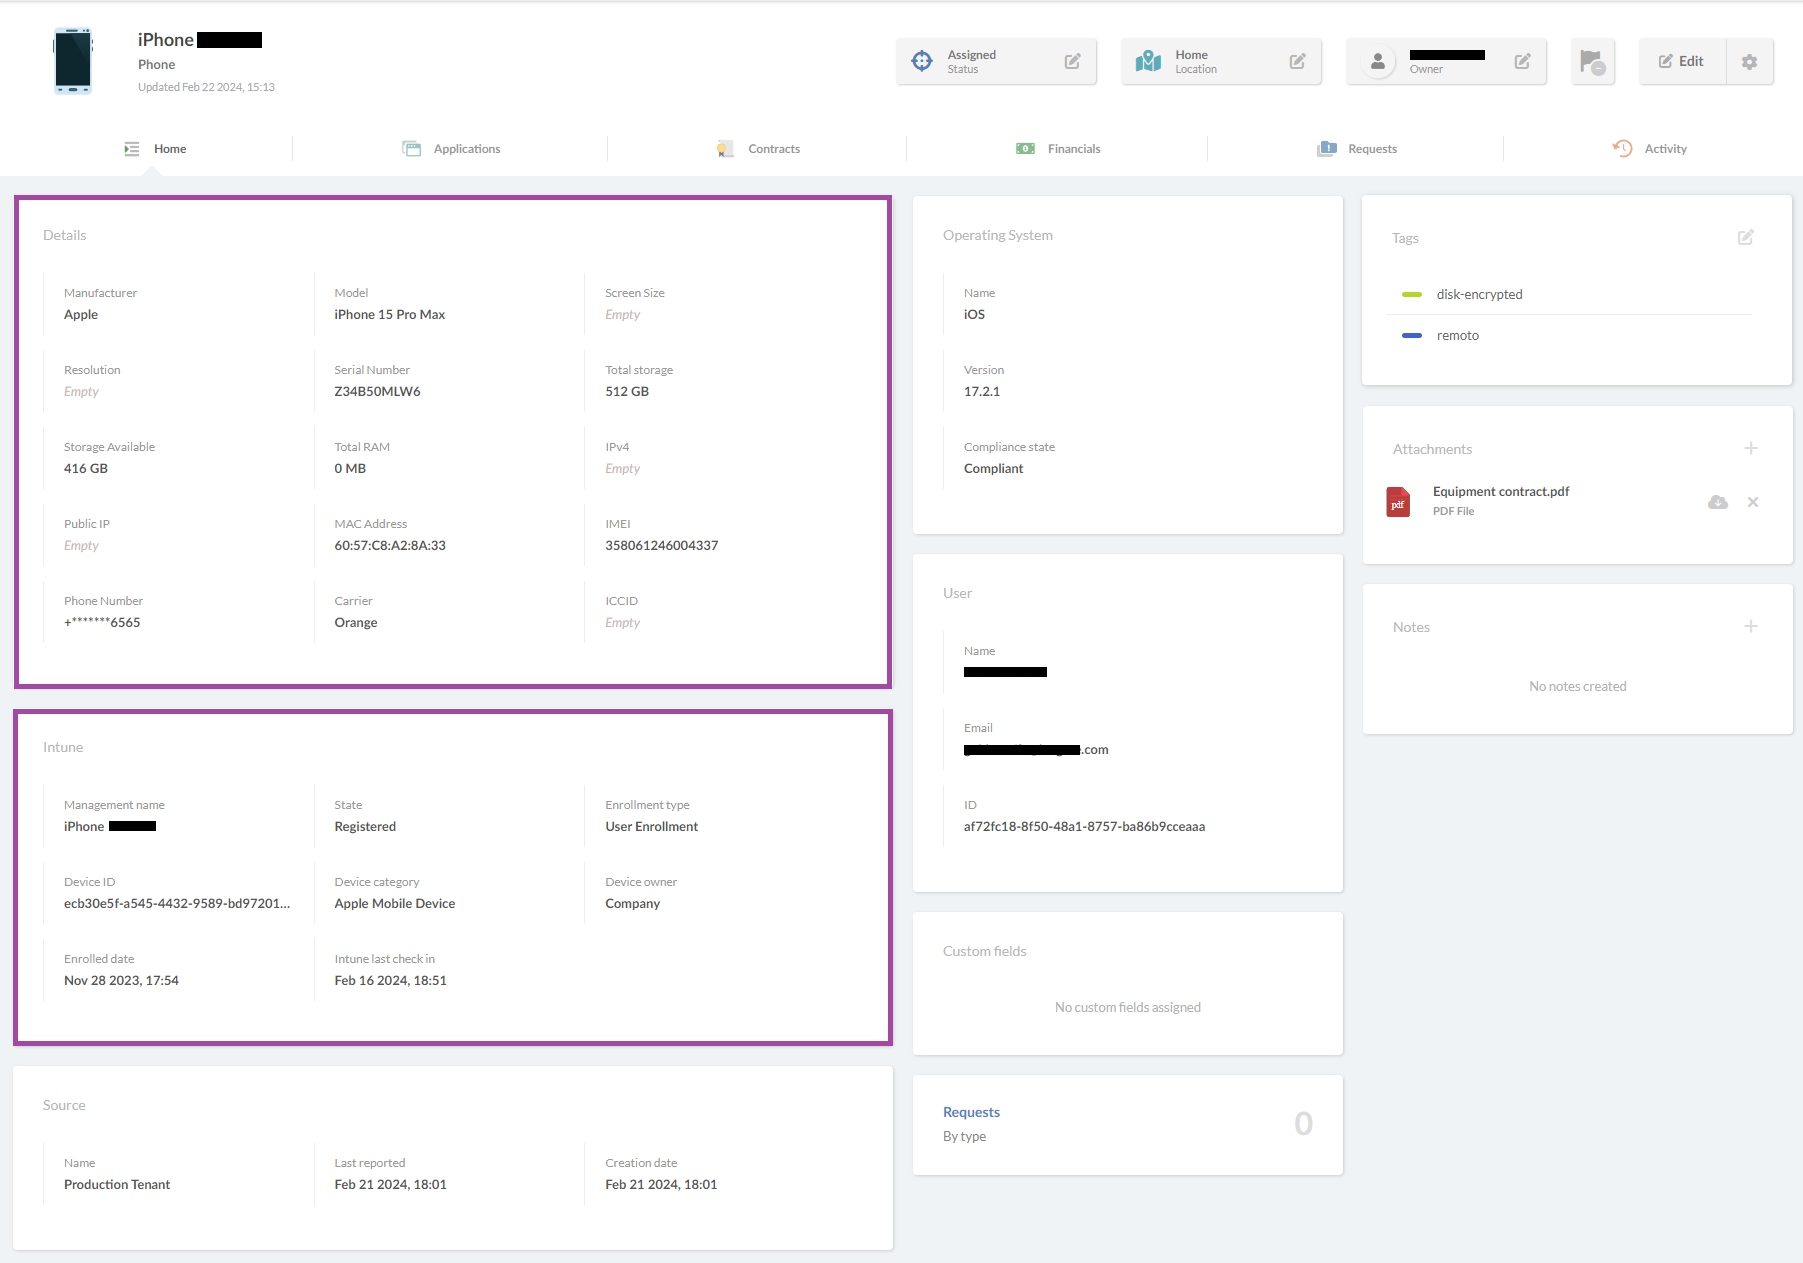
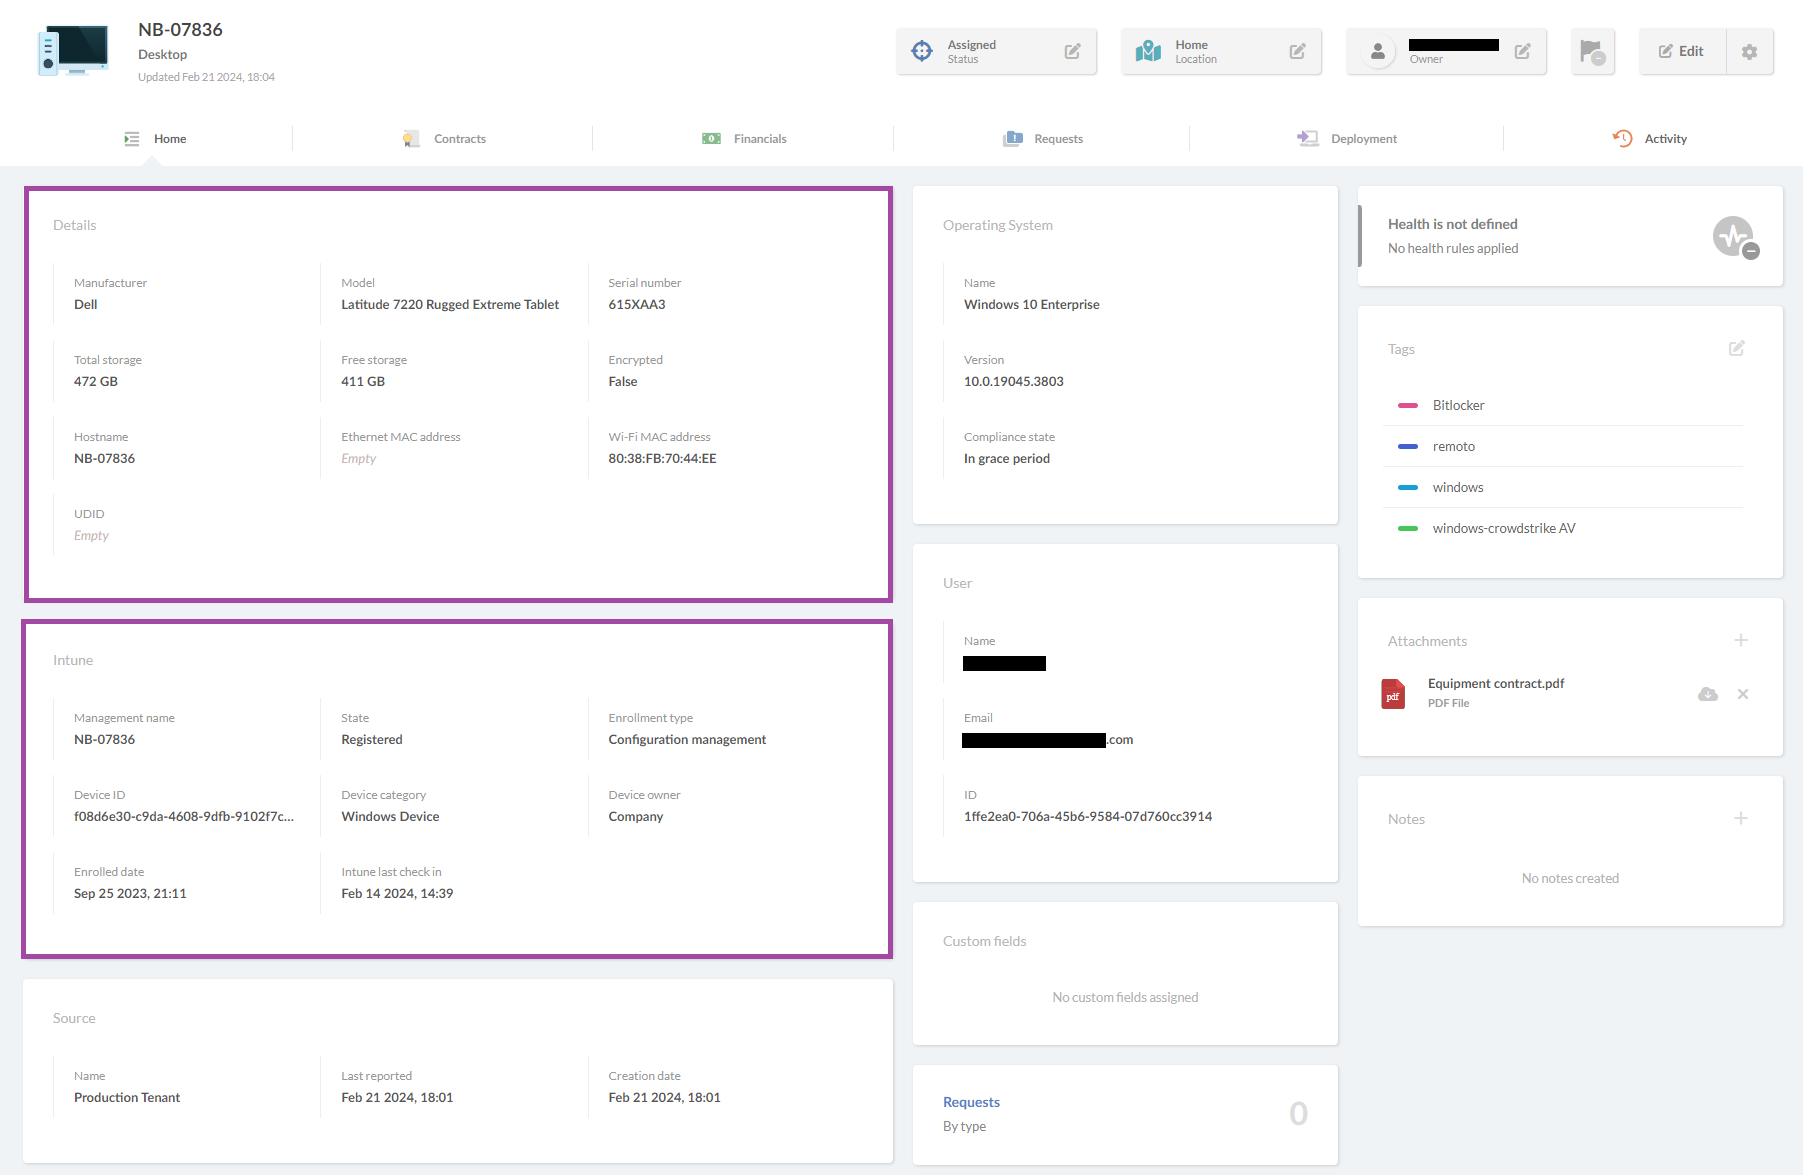
With the integration in place, and once the Intune device is synchronized in InvGate Asset Management, you will be able to access its details within the Asset Profile.
If it’s a phone, it will display the following asset details and Intune information:
For computers, the asset profile will look like this:
To sum up
Integrating InvGate Asset Management with Microsoft Intune enables users to further centralize their Device Management efforts in one single solution, improving the visibility and control they have over their complete fleet of assets.
This update comes to join InvGate Asset Management’s complete integration offerings, oriented to build a robust and complete solution that continuously enhances our customer’s Asset Management capabilities.
If you need any more assistance with the integration process, don’t hesitate to reach out to support who will be eager to help you out.
And, finally, if you haven’t already, you can start exploring InvGate Asset Management right now with our 30-day free trial!
