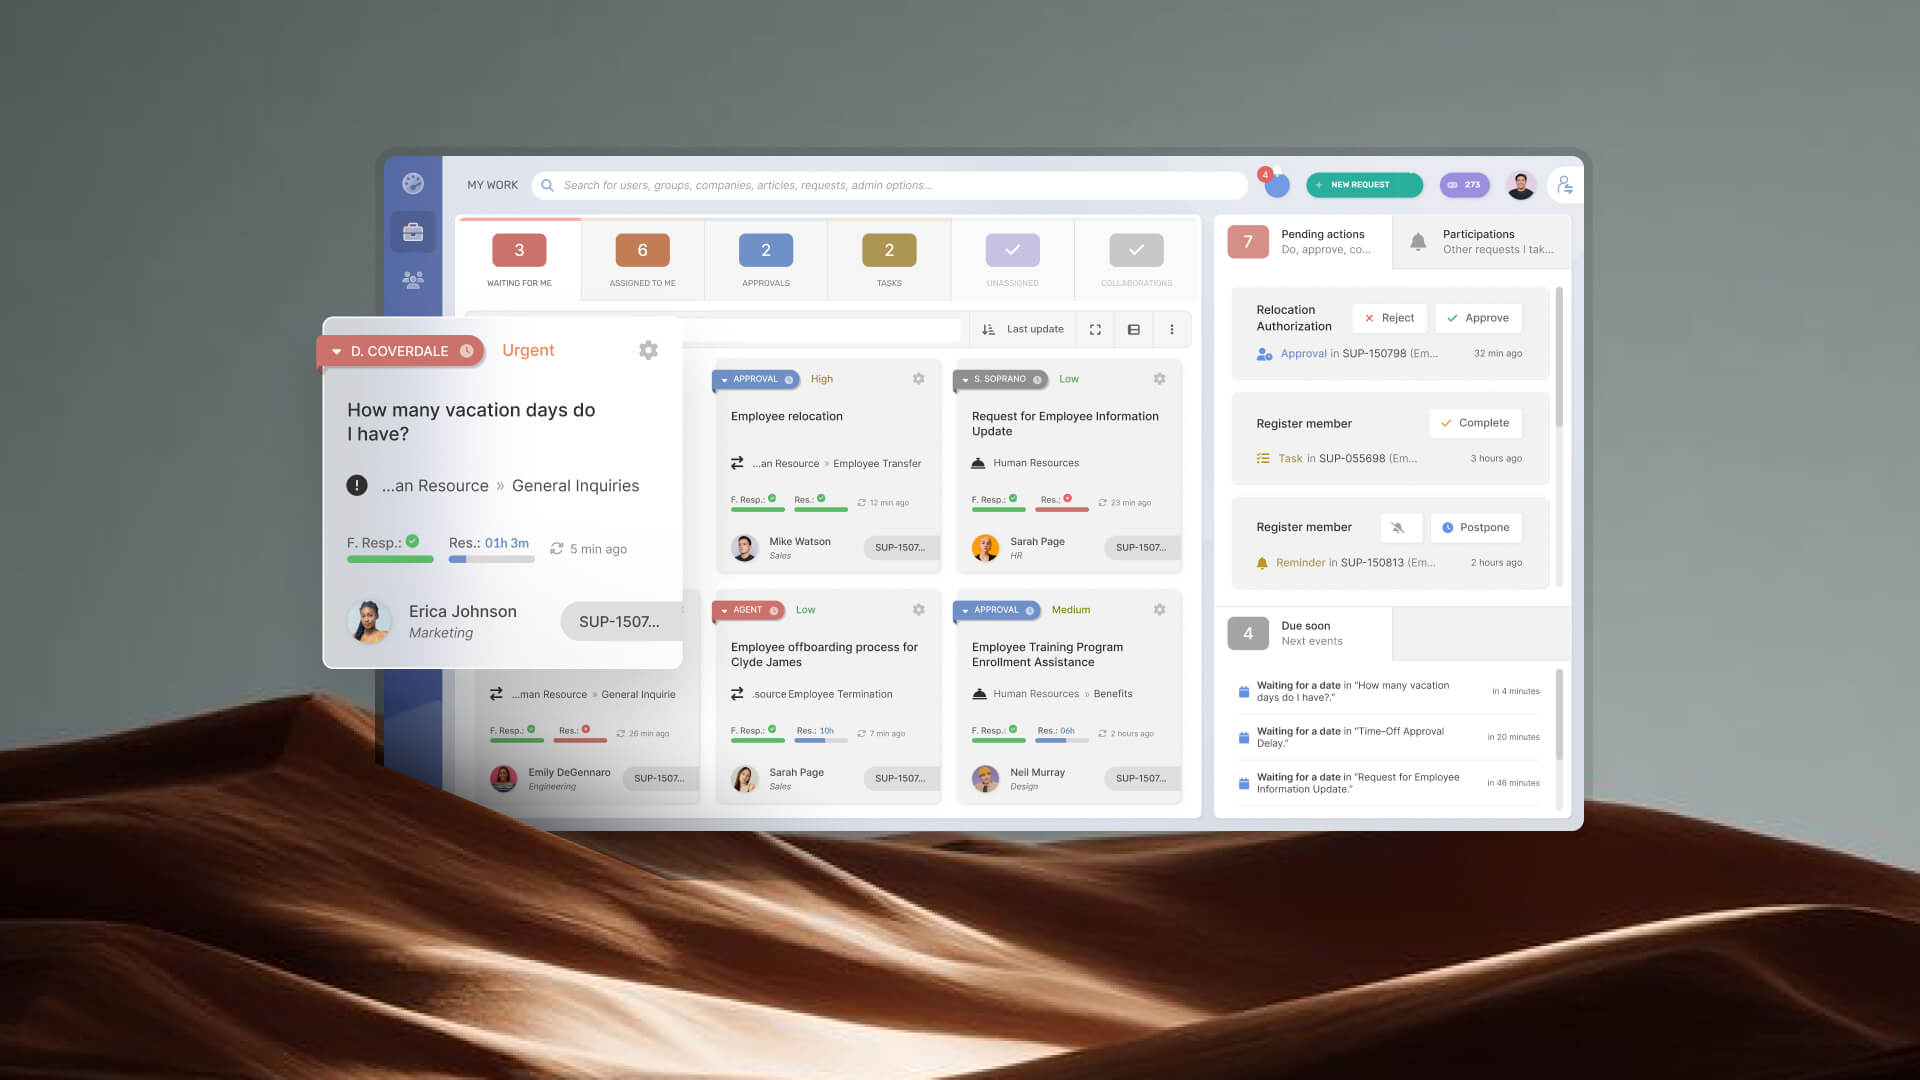
Every support request follows the same arc. It starts when someone reports an issue and ends when the work is done and the ticket is put to rest. The path in between is the ticket lifecycle: a predictable sequence of stages that gives your team a shared vocabulary for where any request stands at any moment.
Knowing these stages is the foundation for measuring your service desk, setting expectations with users, and spotting where work gets stuck. The lifecycle describes the stages a ticket moves through. The workflow you build to move tickets through those stages is your help desk ticketing process flow, which is a separate design exercise.
This is a short, conceptual guide to the stages, the statuses that mark each one, and who owns the ticket along the way.
What is the ticket lifecycle?
The ticket lifecycle is the full journey of an IT support ticket, from the moment it is created until it is closed. Each phase of that journey is a stage, and each stage is reflected in the ticket's status so that agents, users, and managers can see the state of the request at a glance.
It helps to separate two related ideas. A stage is a phase of work, such as creation or resolution. A status is the specific label a ticket carries at a given point, such as New, In Progress, or Closed. One stage can contain several statuses, and the status is what most people actually read when they open a ticket.
Understanding the lifecycle matters because it turns support into something you can manage. When every request follows the same recognizable path, you can define what "good" looks like at each step, measure how long tickets spend in each stage, and identify the points where requests slow down.
The stages of the ticket lifecycle
Most support tickets pass through five stages. The exact names vary by organization, and the underlying sequence is consistent across service desks.
1. Creation
The lifecycle begins when a user submits a request through a support channel, such as a self-service portal, email, a chat tool, or a phone call logged by an agent. At this point the ticket exists and carries the essential details: who reported it, what the issue is, and when it arrived.
Typical statuses: New, Open, or Received.
2. Classification
Once the ticket exists, it needs to be understood before anyone can act on it. Classification is where the request is categorized (for example, hardware, access, or software), given a priority based on its urgency and impact, and matched to the applicable Service Level Agreement. Accurate classification here shapes everything that follows, because it determines how fast the ticket needs to move and who should handle it.
Typical statuses: Open or In Triage, with the category and priority now set.
3. Assignment
With the ticket classified, it is routed to the person or team best equipped to resolve it. Simple requests land with a first-line agent, and specialized issues go to the right group or support tier. Assignment is the handoff that makes a ticket someone's responsibility rather than an item sitting in a shared queue.
Typical statuses: Assigned or Open, indicating the ticket now has a clear owner.
4. Resolution
This is the stage where the actual work happens. The assigned agent investigates, communicates with the user, and applies a fix. A ticket often moves back and forth within this stage, pausing while it waits on the user, a vendor, or a scheduled change, then resuming once the blocker clears. When the fix is in place and confirmed, the ticket is marked as resolved.
Typical statuses: In Progress, On Hold, Pending or Waiting for User, and finally Resolved.
5. Closure
A resolved ticket is not the same as a closed one. Closure is the final stage, where the ticket is formally completed after the user has confirmed the fix or a set waiting period has passed. It is also the moment to capture feedback through a satisfaction survey and to record anything worth reusing later. A closed ticket can be reopened if the same issue returns, which sends it back into the resolution stage.
Typical statuses: Closed, with Reopened available if the problem recurs.
Who owns each stage
A ticket changes hands as it moves through its lifecycle. Clear ownership makes it easier to see who is responsible for moving the work forward at each point.
- The user owns the information and validation needed from their side. They create the ticket with enough context to understand the issue, answer questions when more detail is needed, and confirm whether the resolution worked. A technical fix does not always mean the ticket is ready to close; the user may still need to validate the outcome.
- The agent owns the ticket while it is within their scope. They classify and prioritize it, investigate the issue, document their work, communicate with the user, and keep the ticket status accurate. If the issue requires expertise, access, or authority they do not have, they are responsible for escalating it rather than allowing it to remain with the wrong owner.
- The specialist or receiving team owns the ticket once an escalation or transfer moves it into their scope. The handoff should include the relevant history, troubleshooting already performed, and supporting information. Ownership then sits with the receiving team until the issue is resolved or needs to move again.
- The service desk manager or process owner is responsible for the rules that govern ownership across the service desk. They define assignment and escalation criteria, SLA expectations, and handoff rules so tickets do not depend on individual judgment alone.
How to manage the ticket lifecycle in your service desk
Understanding the stages is the first step. Managing them consistently across hundreds of tickets is what a service desk tool is for. For most day-to-day requests, that comes down to a handful of settings you configure once and let run. InvGate Service Management handles the standard ticket flow through its help desk structure and a set of rules, so incidents and simple requests move through their stages on their own.
- Route incoming tickets to the right team. The foundation of routing in InvGate Service Management is the help desk structure: you create the help desks that own different types of work, then routing rules evaluate each ticket the moment it is submitted and send it to the correct help desk based on its category, priority, user type, office, or form responses.
- Assign tickets automatically. Within a help desk, InvGate Service Management distributes tickets to agents by availability or workload, or lets agents pull from a shared queue, so the assignment stage does not depend on someone doing it by hand.
- Set priority and track it against SLAs. Priority can be calculated automatically from fields like category, impact, and urgency. SLAs, configured under Settings → Requests, then measure first response and resolution time against that priority and trigger actions as the clock runs down, such as notifying the agent at 70% of the time elapsed.
- Escalate before deadlines slip. Escalation rules reassign a ticket or notify a supervisor when a deadline is at risk, and shortcuts let agents move a ticket to a higher tier or specialized team when it needs more expertise. This is what keeps difficult tickets in the resolution stage from stalling.
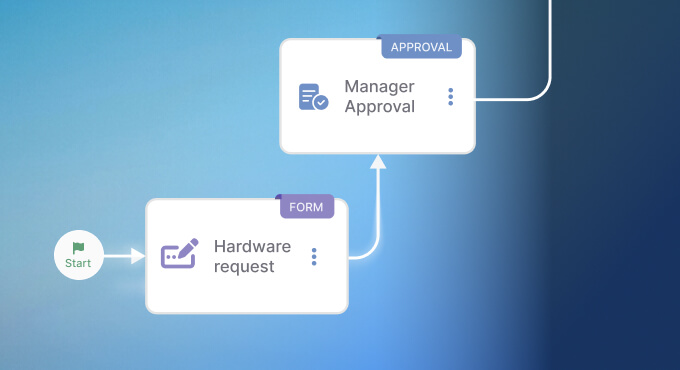
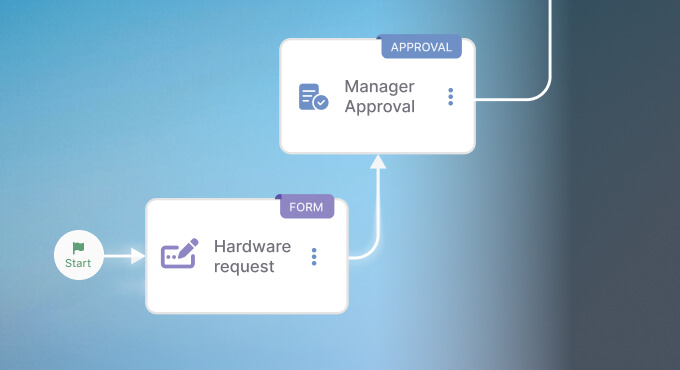
- Use workflows for complex requests. You can use the drag-and-drop workflow builder in InvGate Service Management for the request types that involve multiple steps, approvals, or handoffs across departments, such as employee onboarding or hardware provisioning. Prebuilt templates give you a starting point you can customize without paid professional services hours.
- Support resolution with a Knowledge Base. Agents and end users can reach relevant articles from within the request, speeding up the resolution stage and deflecting simple tickets before they are created.
- Monitor the whole lifecycle with dashboards and analytics, and more. Customizable dashboards show how many tickets sit in each stage, where the bottlenecks are, and how your service desk is performing over time.
With routing, assignment, and escalation running on rules, each stage has a clear owner, a clear status, and a clear next step, which is exactly what keeps a service desk running smoothly.
Ready to manage your ticket lifecycle end to end? Start a 30-day free trial of InvGate Service Management and see how each stage comes together.