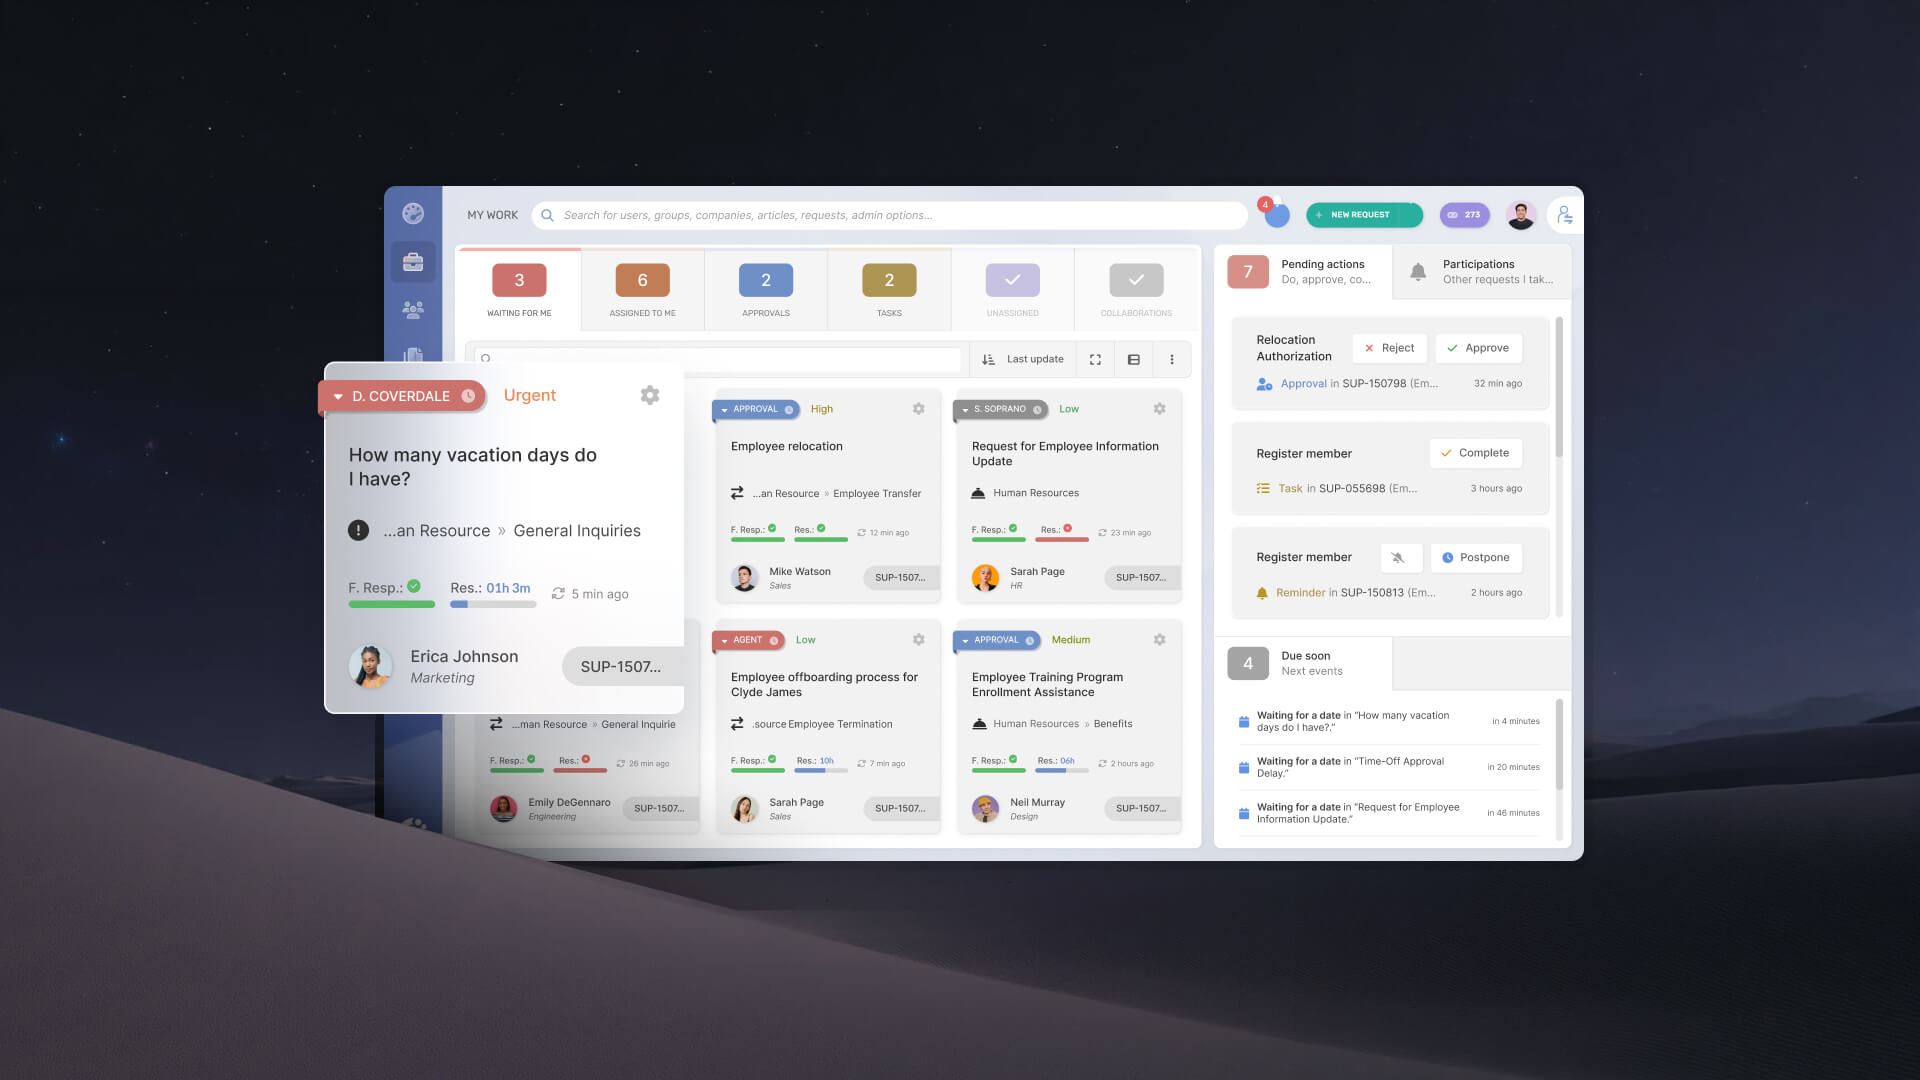
A critical ticket loses value every minute it sits in the same queue as routine requests. If the service desk waits for someone to recognize that it's a major incident or that it came from a VIP, the escalation has already started too late.
When a business-critical ticket arrives, the platform should recognize the context, increase its priority, notify the appropriate teams, and trigger the right workflow without waiting for an agent to intervene.
This guide walks through the configuration behind that process: identifying VIP users, raising a ticket's priority automatically, triggering notifications, launching major incident workflows, and paging on-call responders after hours.
The four layers of a critical-ticket alert
It helps to separate "alerting" into its parts, because each is configured in a different place and each depends on the one before it:
- Identify — decide, in machine-readable terms, what counts as critical or VIP. An alert can only fire on conditions the platform can evaluate.
- Prioritize — raise the ticket's priority (and, where needed, its category) so downstream rules, SLAs, and workflows treat it correctly.
- Notify — put the ticket in front of the right agents, managers, and observers through in-app, email, and portal channels.
- Escalate — when time runs out or the clock says it's after hours, move the ticket to a higher tier or hand it to an on-call responder.
The first three layers are handled by rule-based automation — deterministic if-this-then-that logic, not AI. The fourth layer, particularly after-hours paging, is where a workflow takes over, because that's where the external integration lives. Keeping the two straight matters: the rule decides what the ticket is and who to tell; the workflow carries out the action that reaches beyond the service desk.
How to set up critical and VIP ticket alerts in InvGate Service Management
The rest of this guide turns those four layers into a step-by-step setup. Each section opens with the underlying principle — vendor-neutral, so the reasoning holds wherever you work — and then shows exactly where to configure it in InvGate Service Management, with the real navigation paths. You can follow the layers in order; each builds on the one before it, and by the end you'll have a single chain that identifies a critical or VIP ticket, raises its priority, alerts the right people, and escalates it after hours without anyone having to be watching the queue.
Layer 1: Identify what counts as critical or VIP
A VIP is a person; a critical ticket is a set of characteristics. You configure them differently.
Define your VIP population as a group
Don't rely on agents recognizing a name. Instead, define the population of high-impact requesters up front — executives, field operations, customer-facing roles — as a user group. In InvGate Service Management, this is a group (commonly named "VIP") that you can maintain manually or sync automatically from Active Directory or LDAP, so membership stays current as people join, move, or leave. Every automation and routing rule you build afterward simply checks whether the requester belongs to that group. Configure the group before you need it; retrofitting VIP handling during an incident is exactly the wrong time.
Define "critical" as evaluable conditions
For critical tickets, you're describing the ticket, not the person. The characteristics an automation can read include:
- Keywords in the subject or description, such as outage, production down, or major outage.
- The affected service or configuration item — for example, a request tied to a critical server or a customer-facing application.
- Impact and urgency values selected during triage, which combine into a priority through your priority matrix.
- Source and timing — where the ticket came from (email, portal, monitoring tool) and whether it arrived outside business hours.
The clearer these definitions are, the less an alert depends on human judgment to fire.
Layer 2: Raise priority automatically with a rule
Every priority-based alert starts from a trigger: a condition the system watches for and acts on the moment it's true. Automated prioritization is only as good as the range of signals you can trigger on, so it's worth knowing the full menu before you build anything. Broadly, the triggers available in a mature service desk fall into a few families:
- Who submitted it — the requester's attributes: group or VIP membership, department, company, location, or seniority.
- What it's about — the request category or type, the affected service or configuration item, and keywords in the subject or description (outage, production down, payment gateway).
- How severe it is — the impact and urgency selected at triage, the resulting priority, or the current SLA state.
- When and where it arrived — the source channel (email, portal, monitoring tool, chat) and the time of day, so a ticket logged outside business hours can be treated differently.
- Derived signals — some platforms can also trigger on analysis of the ticket itself, such as detected customer sentiment, which is an AI-based condition layered on top of the deterministic ones above.
The more of these you can combine in a single rule, the more precisely an alert fires only when it genuinely should — a VIP and a negative interaction, or a production keyword and an after-hours timestamp — rather than flooding the team with false alarms.
In InvGate Service Management, this logic is built with Automations, which follow a straightforward if-this-then-that structure and support the trigger families above. This is the heart of your priority-based ticket alerts.
Go to Settings > Requests > Automations and click Add. Give the automation a name and description, then choose the Event that triggers evaluation (for example, when a request is created or updated). You then define Conditions and the Actions to take when they're met.
A VIP example:
- Condition: The customer belongs to the VIP group.
- Actions: Change the request's priority to Urgent; add the requester's manager and the relevant team lead as observers; send a notification email to the assigned help desk.
A critical-incident example:
- Condition: The subject contains "outage alert," or the affected service is a production system.
- Actions: Change the priority to Critical; change the category to the correct request type (recategorization — more on why this matters below); add an observer; send an email to the on-call group.
The full set of actions available to an automation includes changing priority, changing category, adding observers, adding tasks, reassigning to another agent or team, sending email, triggering an approval workflow, and calling an external web service. You can combine several conditions and actions in one rule, which is how a single automation can prioritize, recategorize, notify, and hand off in one pass.
Why recategorization is the pivot. In InvGate Service Management, a request's category can trigger a workflow — workflows are built once and then assigned to a request category in the service catalog. The rule recognizes the characteristics; the recategorization sends the ticket down the right path. For the highest-severity cases where you want the automation to invoke the process directly rather than through category assignment, use the trigger a workflow or call an external web service actions instead. Both patterns are valid. Recategorization doesn't have to be automatic, either: an agent can change the category by hand to send a ticket into the right workflow on their own judgment when a rule didn't catch it.
Layer 3: Fire the notifications
Raising priority is only useful if someone is told. The principle here is redundancy of reach: a critical or VIP ticket should surface through more than one channel, so a single missed email or an agent who's away from their screen doesn't stall the response. Good practice is to notify the person who will own the work, the person accountable for the service, and — for VIP cases — someone who can manage the relationship, each through whichever channel they actually watch. The channels themselves are standard across service desk tools: in-app alerts for active agents, email for people who aren't logged in, and portal-level announcements for incidents wide enough to affect many users at once.
In InvGate Service Management, those channels are driven from a few coordinated places:
- Observers added by the automation receive updates on the ticket automatically — the fastest way to loop in a manager or service owner without reassigning ownership.
- Email actions in the automation send targeted messages to the requester, an agent, a group, or stakeholders the moment conditions are met. These are your critical ticket notifications.
- In-app notifications surface the ticket in real time inside the platform for agents who are already working.
- Breaking news lets you post a banner on the self-service portal — useful when a critical incident affects many users and you want to head off duplicate tickets before they're logged.
For VIP tickets specifically, the pattern that works is: observer + immediate email to the owning team + a routing exception that sends the ticket to a higher support tier rather than the general queue. That combination is what turns VIP ticket alerts from a courtesy into a guarantee.
Layer 4: Route into a critical-incident workflow
Once a ticket is recategorized as critical, the workflow assigned to that category governs what happens next. If you don't already have one, build it in the no-code Workflow Builder:
- Go to Settings > Requests > Workflows and either select a template or click Add to build from scratch.
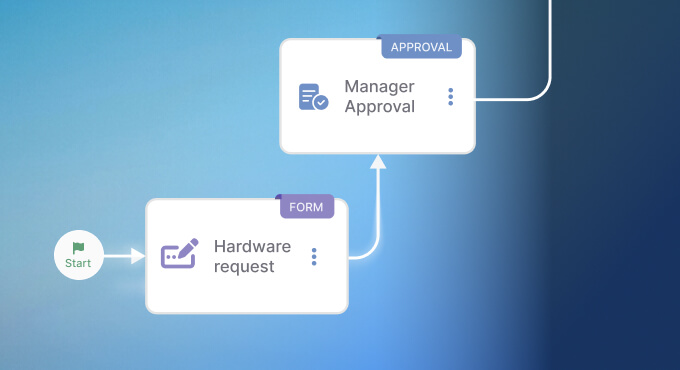
- Design the process in the Diagram Editor — double-click any block to configure its form fields, approvals, tasks, and notifications. A critical-incident workflow typically includes immediate assignment to the right team, a task list for triage, notification stages for stakeholders, and a communication step for affected users.
- Click Publish version to activate it.
- Assign the workflow to the request category in the service catalog (for example, IT > Critical Incident) and click Assign now. From that point, every ticket in that category follows the workflow — including the ones your automation just recategorized.
For the most severe cases, InvGate Service Management also provides a Promote to Major Incident action, which moves a ticket into a structured, high-severity Major Incident Management process. Use it when a single critical ticket needs coordinated, multi-team response rather than standard handling.
Start a 30-day free trial of InvGate Service Management — no credit card required — and configure your first critical and VIP ticket alerts end to end, including the PagerDuty Connector for after-hours escalation.
After-hours escalation with PagerDuty
The hardest part of any critical alert is the 2 a.m. case: the ticket exists, but the queue is empty and no agent is watching. This is where a static assignment rule fails, because the person it names may be asleep and off-rotation. The answer is to escalate based on who is actually on call at that moment — and that data lives in PagerDuty.
InvGate Service Management includes a PagerDuty Connector that runs inside the Workflow Builder. Its actions cover incidents, services, users, active on-calls, schedules, and escalation policies — which means your workflow can query PagerDuty for the current on-call responder and escalation path, then act on the answer instead of a stale static assignment. Because the Connector is a workflow stage, it slots into the same critical or major-incident workflow you assigned above.
A practical after-hours pattern:
- The automation detects the critical characteristics, raises priority, and recategorizes the ticket (Layers 1–2).
- The critical-incident workflow runs. An early stage checks whether the ticket arrived outside business hours.
- If it did, a PagerDuty Connector stage looks up the active on-call responder for the affected service and creates or references the corresponding PagerDuty incident, triggering the escalation policy that owns that service.
- Status stays aligned between the two systems, so the incident that gets worked in PagerDuty is the same one that carries a complete record in the service desk.
Building the on-call handoff as a workflow stage — rather than a rigid rule — keeps the escalation logic with the people who run the service desk, and it's what makes after-hours ticket escalation dynamic rather than dependent on luck. Reusable Web Service stages and Building Blocks let you save this configuration once and drop it into every workflow that needs it.
An SLA-based safety net
Even with all of the above, some critical tickets will sit longer than they should. SLA actions give you a time-based backstop that fires regardless of how the ticket was triaged.
Go to Settings > Requests > SLAs, edit the relevant SLA, scroll to Actions, and click Add. For each action, set an elapsed-time threshold (a percentage of the SLA target) and the action to take when it's reached — add an observer, change the category, change the priority, trigger an approval, or send an email. A common setup: notify the assigned agent at 50% of the resolution target, add the team manager as an observer at 75%, and escalate priority or reassign at 90%. Because the platform reevaluates applicable policies whenever a ticket's priority, assignment, or category changes, these actions stay coherent as the ticket moves.
This layer is what lets you escalate high priority tickets on time even when the initial alert reached the right person but the work stalled.