









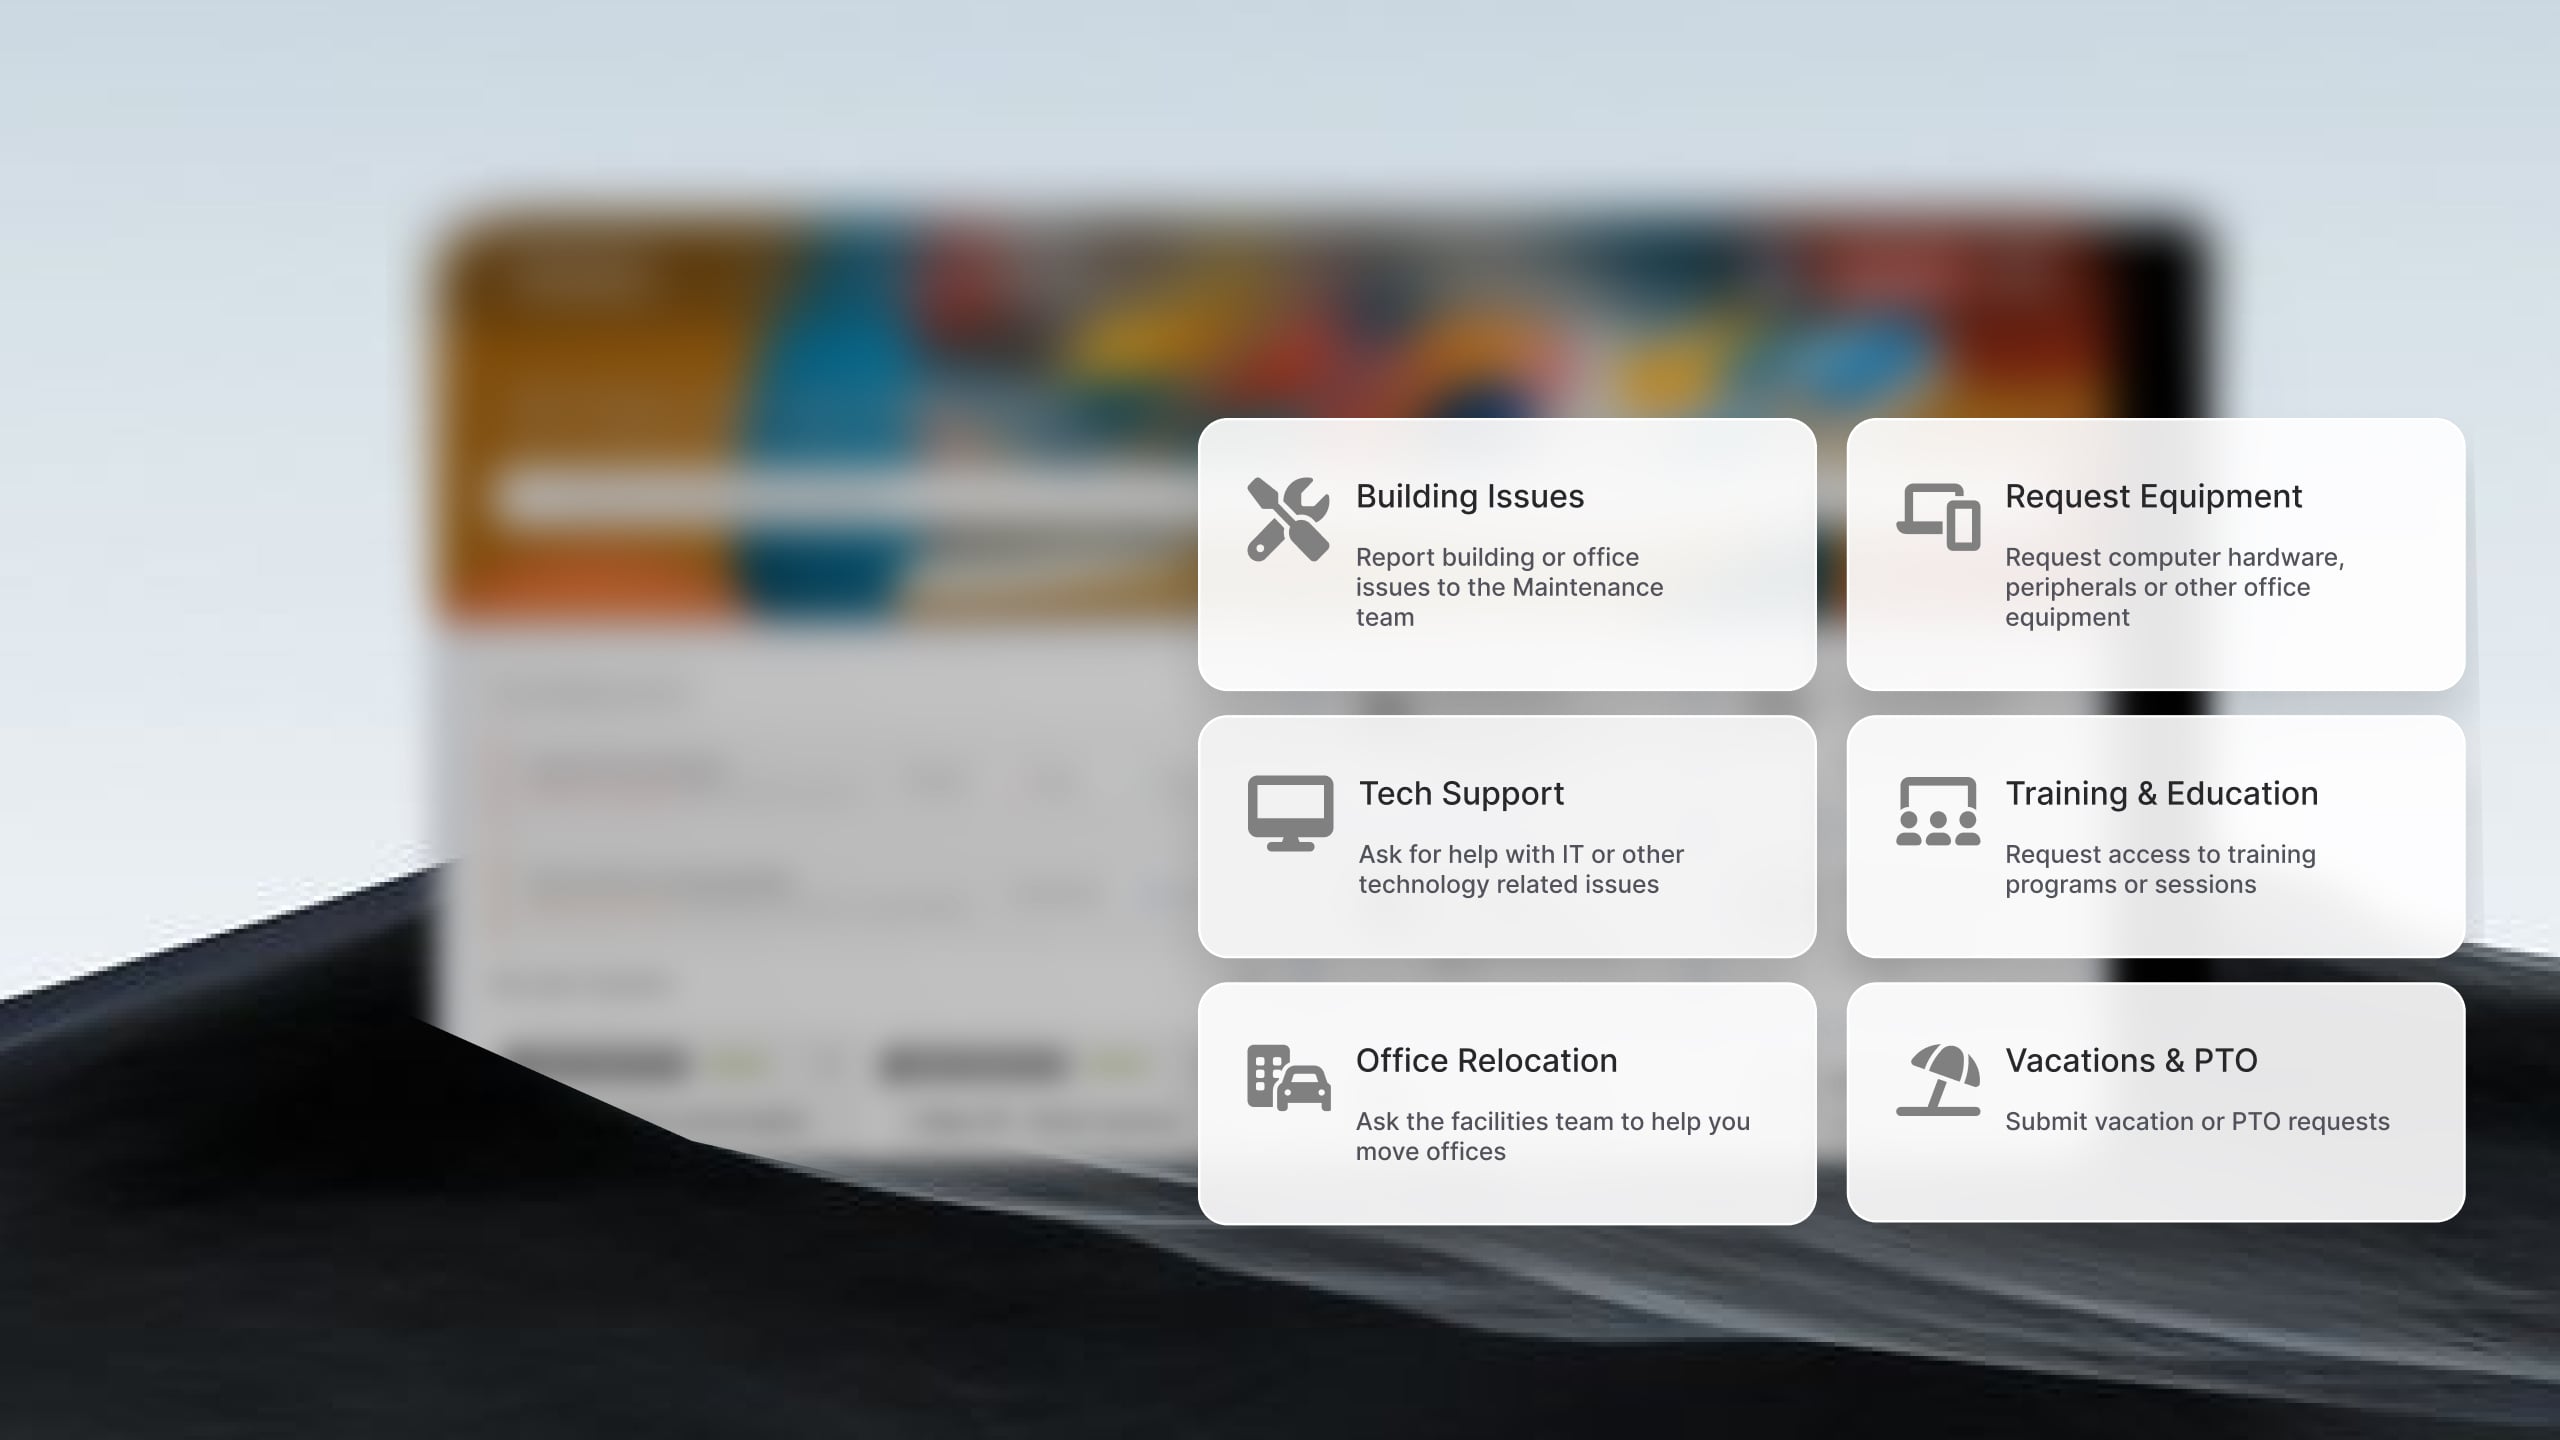

Government employees often need IT support, HR services, facilities requests, and access to internal resources, but those services are frequently spread across different portals, email addresses, and manual processes. That fragmentation creates extra work for employees and makes it harder for service teams to deliver consistent support.
A self-service portal is a key component of ITSM in government, providing a single place where employees can request services, find information, and track progress. It also gives IT teams a standardized way to deliver services, automate workflows, and measure performance while reducing requests that arrive through informal channels.
Although IT often leads these initiatives, the same portal can support HR, Facilities, Finance, Procurement, and other internal teams, extending the same service management practices across government departments. In this article, we'll cover what a government self-service portal should include and the steps to build one successfully.
Informal intake channels don't fail all at once. They fail quietly, one habit at a time, until nobody can say for certain how many ways there are to ask for help inside their own organization.
Lance Spranger, CIO of Waukesha County, Wisconsin, described exactly this pattern at an InvGate industry forum on government IT modernization.
"There were several ways to ask for help, and you had to know them. They weren't well publicized. It could have been an email, it might have been a tap on the shoulder, it could have been a team's chat. The many doors led you to many different options that give you different types of responses."
— Lance Spranger, CIO, Waukesha County, WI
That fragmentation produces two costs that are easy to underestimate. People who already know the right contact get faster service than people who don't, which turns support into something closer to a relationship than a consistent standard. And because informal requests are rarely logged anywhere, IT has no real data on volume, recurring problems, or where demand is actually concentrated, which makes it hard to justify more resources or prioritize fixes with anything better than a guess.
Fixing this comes down to a decision to stop tolerating informal routing, department by department, until every request has exactly one place to start.
"Let's have this be one stop shop where people can come in and say, where can I get help no matter what it is? That's really what provided the biggest success for us in moving to a unified service portal." — Lance Spranger, CIO, Waukesha County, WI
Building a unified self-service portal is a process of organizing services, defining how requests move through the organization, and making them accessible from a single place. The goal is to give employees a consistent way to request support while giving each department the structure it needs to deliver services efficiently.
The steps below walk through that process using InvGate Service Management, from organizing services to publishing the portal for end users.
Start by organizing your service catalog into a clear hierarchy. A simple structure makes it easier for employees to find the right request and easier for support teams to manage services over time.
For most government organizations, three or four levels are enough:
Keeping the catalog deeper than four levels forces users to click through unnecessary menus. A flatter structure, on the other hand, groups too many unrelated requests together, making services harder to find.
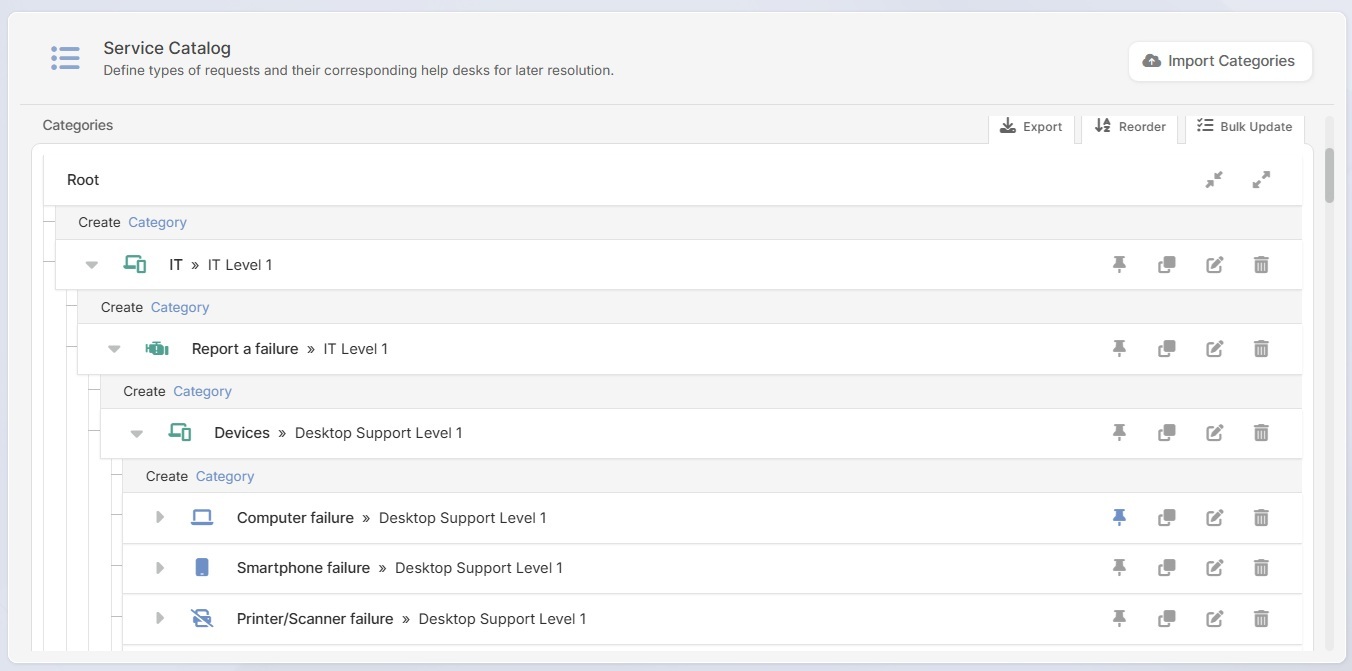
In InvGate Service Management, you can build this hierarchy under Settings > Catalog. Teams can be assigned at any level of the tree, allowing an entire category to route to the same queue while individual request items use different assignments when needed.
Keep these best practices in mind:
Start by deciding, for every request type, which team receives it and whether anything needs sign-off before work begins. Skipping this step means requests sit with no clear owner until someone happens to notice them.
Two decisions cover most request types:
In InvGate Service Management, routing is set directly on the catalog tree built in step one, so every branch already points to a queue once it goes live. Approval works differently depending on the request. For straightforward requests, set approval rules under Settings > Requests > Approvals, where Custom Approval Templates require sign-off for specific request types, commonly used by facilities or security teams before granting building or system access.
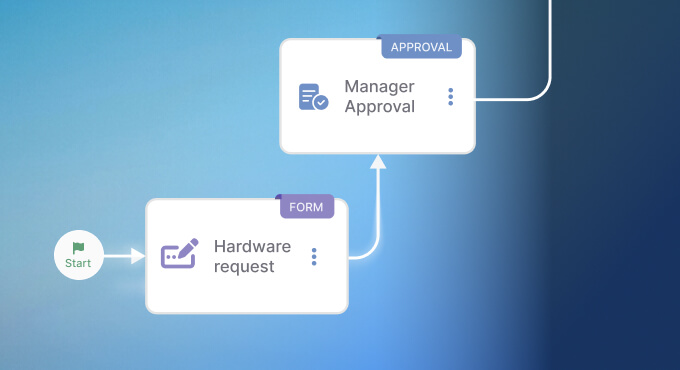
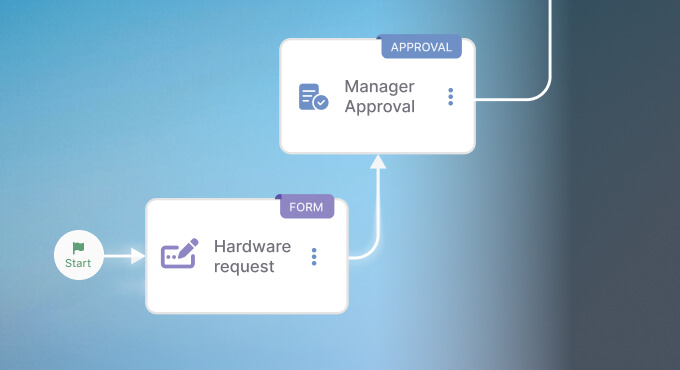
For requests that move through several teams in sequence, such as onboarding a new employee, use the no-code Workflow Builder to lay out the full sequence, placing an approval at any point authorization is needed.
Keep these best practices in mind:
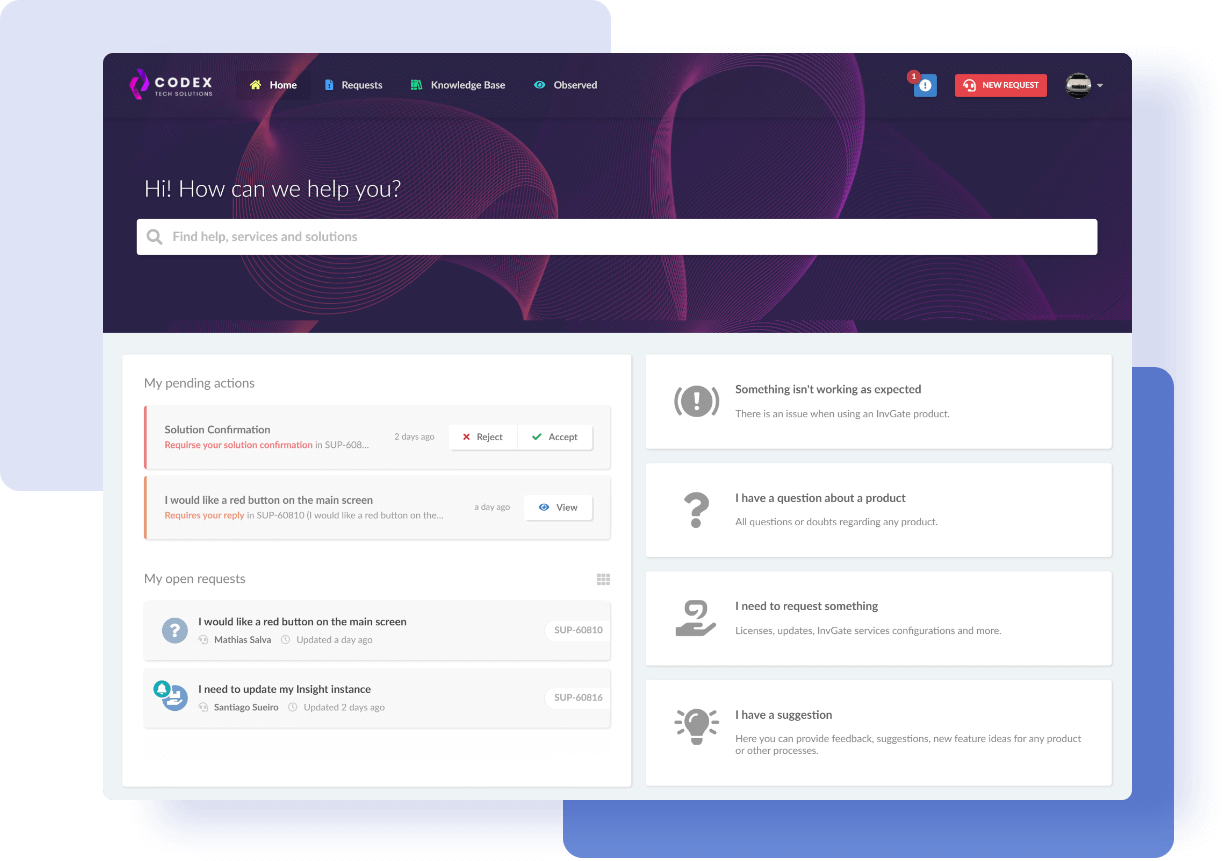
Start by setting the portal's logo, brand colors, and welcome message. The catalog structure built in step one carries over into the portal automatically, so there's no separate step to rebuild categories here.
In InvGate Service Management, these settings live under Settings > General > Portals, in the Self-Service Portal section.
Keep these best practices in mind:
You can also link to specific request types wherever employees already go for help. A portal nobody was told about gets used about as often as an old intranet page nobody bookmarked.
In InvGate Service Management, every category and request type built in the earlier steps has its own address inside the portal, reachable directly. That means a request type like "report a facilities issue" can be linked from a department's intranet page, a new-hire onboarding email, or a shared drive folder a team already uses daily.
Start by linking existing knowledge base articles to the request types they resolve. Many requests don't need a ticket at all if the answer is already written down somewhere.
In InvGate Service Management, administrators can attach knowledge base articles directly to specific catalog items, so opening a request like "reset my password" surfaces the relevant article before anyone submits anything. Resolved tickets can also be converted into new articles with AI assistance, so the knowledge base grows alongside daily ticket volume without a separate writing project.
A form is not the only way people expect to ask for help anymore. Plenty of employees would rather type a question in plain language and get an answer immediately, the same way they'd ask a coworker sitting next to them, without picking a category or filling out fields first. That's what InvGate's Virtual Service Agent (VSA) adds on top of the portal built in the steps above: the same catalog and the same knowledge base, reachable as a conversation. It can be enabled under Settings > AI Hub.
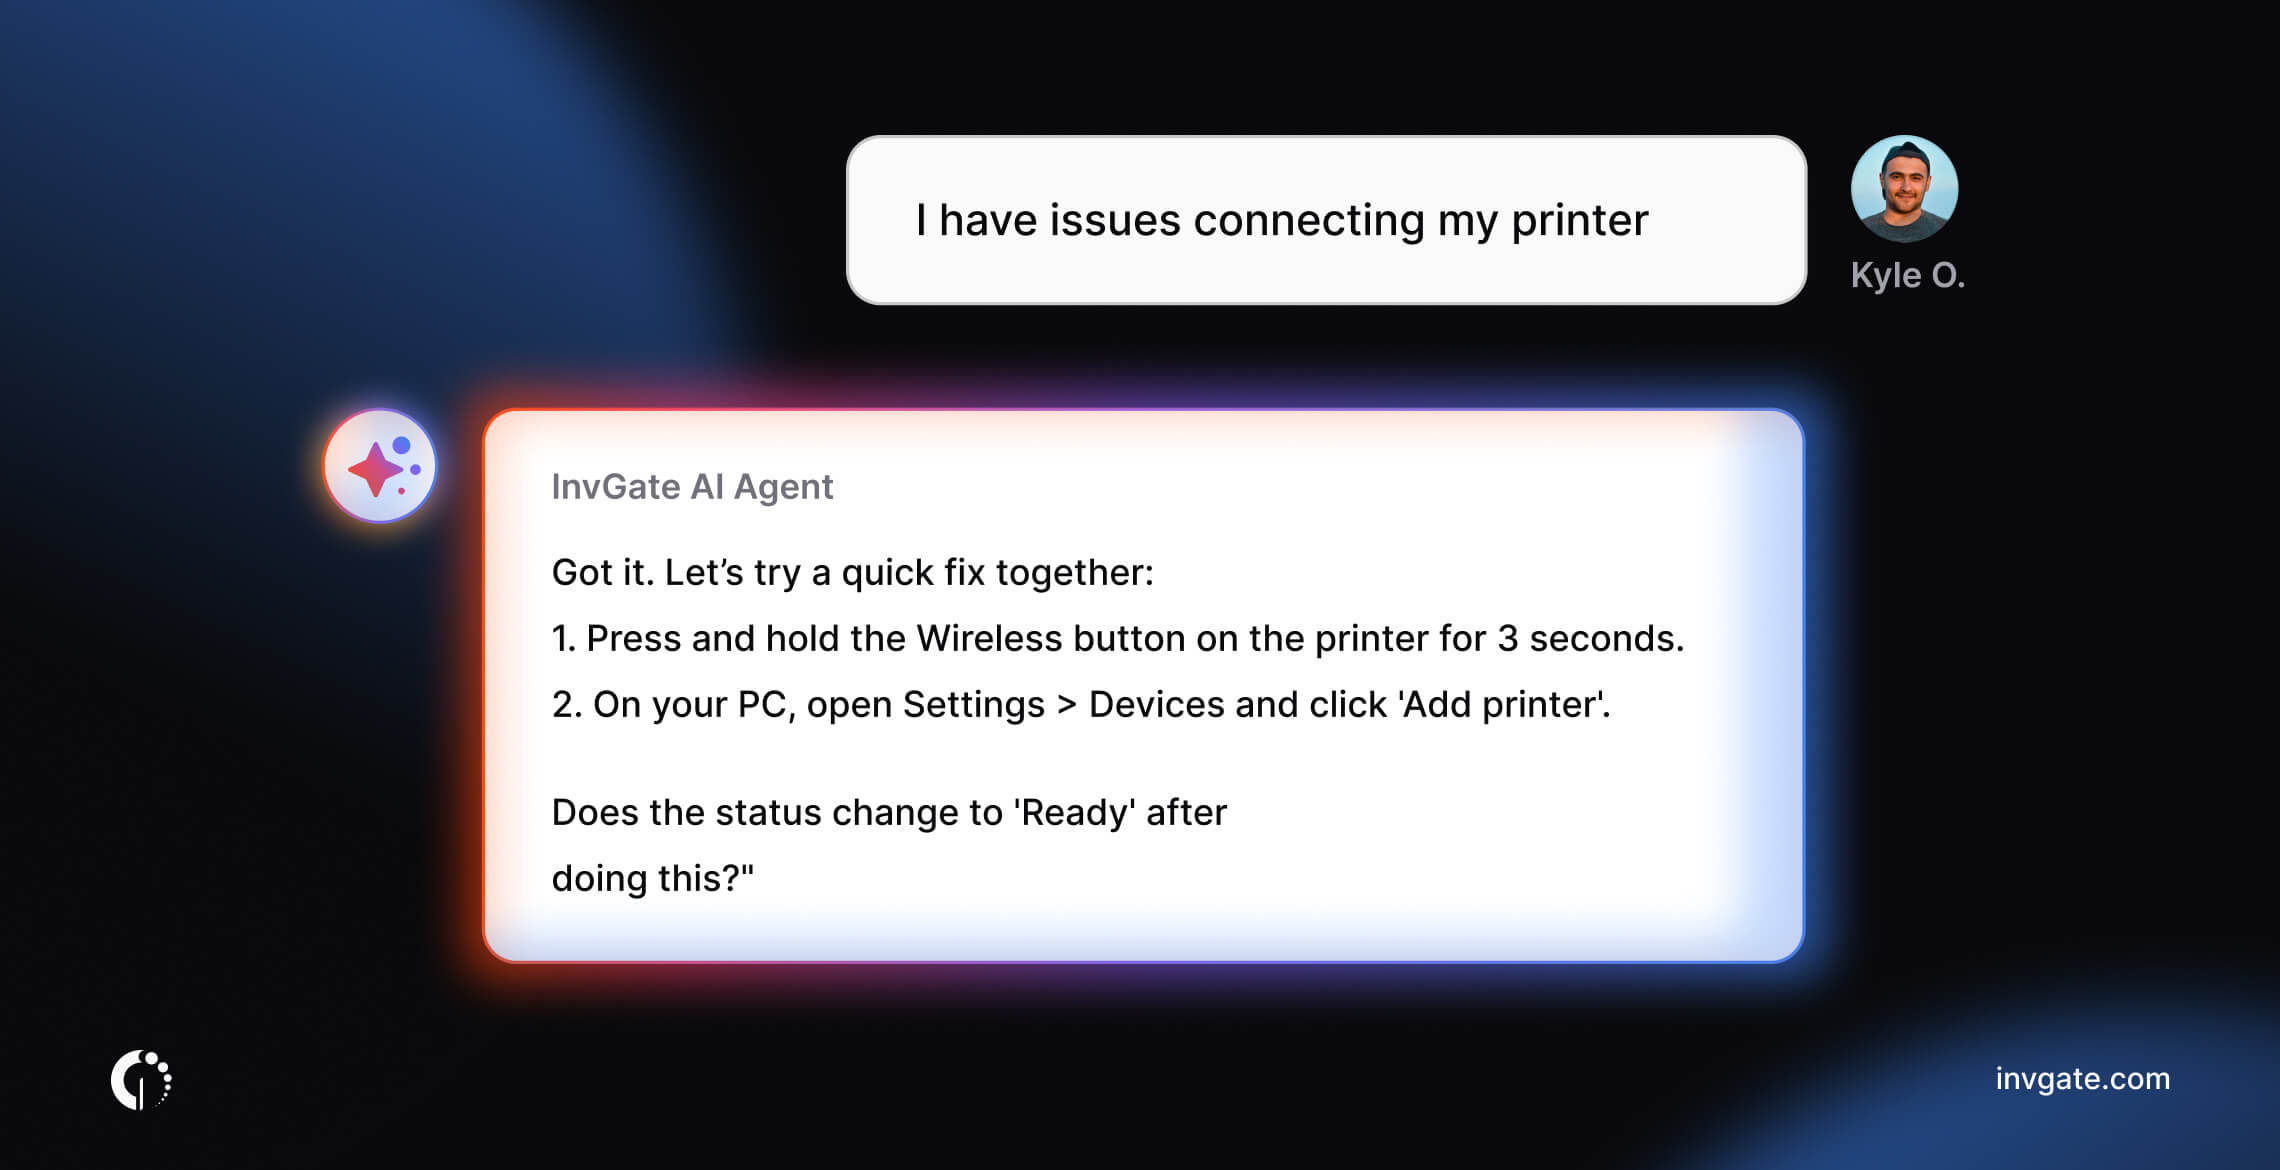
Instead of browsing categories, employees can describe what they need in their own words. The Virtual Service Agent understands natural language and can recommend knowledge articles, guide users to the appropriate service request, answer common questions, check the status of existing requests, or create a ticket when human assistance is needed.
Aditonally, a unified self-service experience doesn't have to begin and end with the portal. Employees look for help in different places depending on how they work, so meeting them on the channels they already use makes self-service easier to adopt.
To offer the same experience through collaboration and messaging platforms, you can connect InvGate's VSA with Microsoft Teams, Slack and WhatsApp under Settings > Integrations > Applications.
Want to see this process in action? Start a 30-day free trial of InvGate Service Management, no credit card required.
A few habits determine whether a unified portal keeps consolidating intake or slowly loses ground back to email and hallway conversations:

