


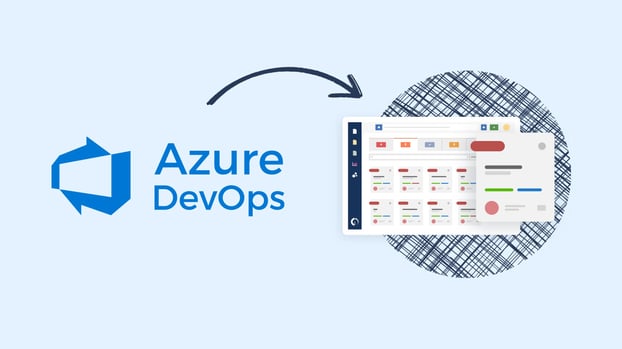

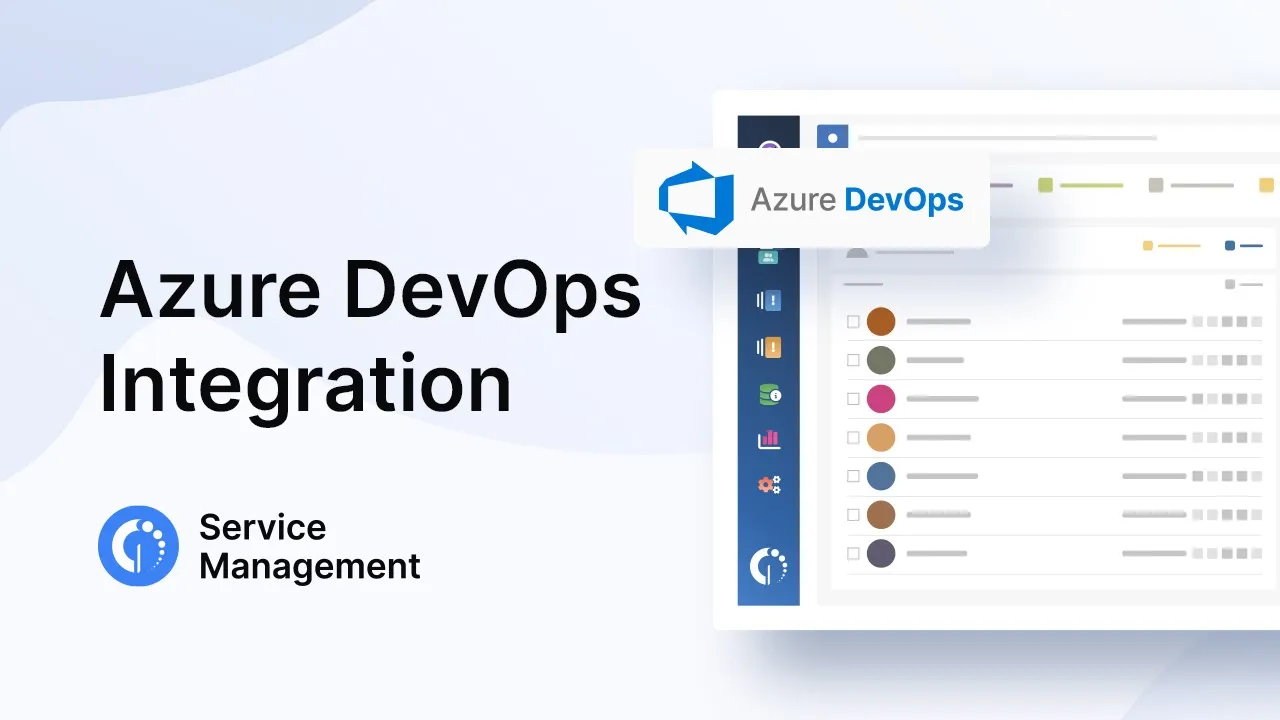
For organizations looking to improve communication and collaboration between support and development teams, the InvGate Service Management and Azure DevOps integration is the perfect fit.
This integration will enable you to link DevOps Work Items to your service desk requests, streamlining your IT operations and enhancing your service delivery.
Ready to see how it works? Let’s see what this integration can do and how to set it up in just a few steps!
Azure DevOps Integration: Add a Help Desk to Your Software Development Tool
Why integrate InvGate Service Management and Azure DevOps?
You are probably already aware that Azure DevOps enables teams to work efficiently together in software development. When combined with InvGate Service Management, these collaboration capabilities go one step further, facilitating communication between the support team working in Service Desk and the development team working in DevOps.
Combining both tools will streamline your IT operations through improved information exchange between teams and enhanced visibility into requests, leading to a more effective and timely issue resolution.
What does the integration look like?
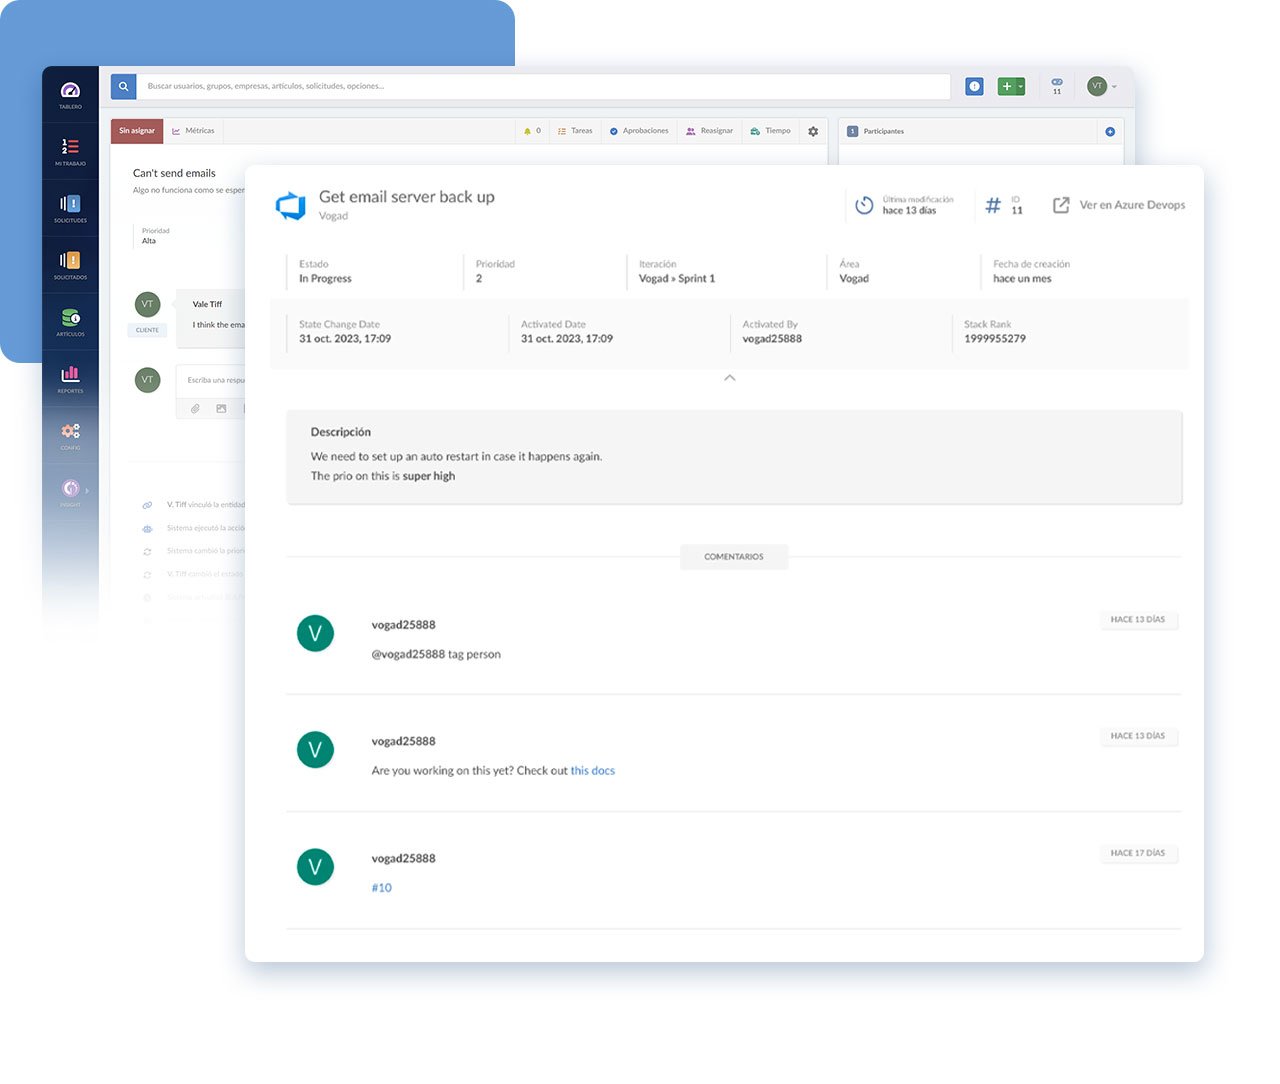
In short, with this integration in place, you will be able to link your Azure DevOps Work Items – used to track features, requirements, code bugs, and project development issues – to InvGate Service Management requests.
Once it’s set up, authorized users will be able to see the following information in the service desk request:
- Status of the Work Item in Azure DevOps
- ID of the Work Item
- Title of the Work Item
You can customize the integration to your organization's needs by choosing which users (agents, administrators, or managers) have permission to link Work Items and see their details on your Service Desk instance.
InvGate Service Management and Azure DevOps integration setup
Setting up the integration of both tools takes only two steps: Obtaining your personal access token from Azure DevOps and configuring the integration on InvGate Service Management.
Also, there is no need to acquire extra licenses, as InvGate Service Management users don’t require a DevOps license to access the details of the item on the tool.
Let’s see how it’s done!
Step 1: Obtain the Personal Access Token from Azure DevOps
The first thing you have to do is obtain the personal access token from Azure DevOps. For this, log into the tool’s website and choose your organization. Then, click on the User settings menu (located in the right corner of the screen) and select “Personal access tokens.”
Once you are there, press on “New Token”, where you will find a configuration form that has to be filled in with the following information:
- Name: Define a name for the token.
- Organization: Select the organization for which you want to generate the token.
- Expiration: Choose an expiration date for the token. It’s recommended to set the maximum date (of one year) to avoid frequent updates.
- Scopes: Select “Custom Defined”, then click on “Show all scopes”, and add the “Read” permission both for Work Items and for Graph.
To finish, press on “Create”, and you will obtain your access token.
Note: Your token will only appear once, so make sure you copy it at the moment, as you will need it for the next step and otherwise, you will have to start from scratch.
Step 2: Integration Configuration in Service Desk
To set up the integration, log into InvGate Service Management as administrator and go to Settings > Integrations > Applications. There, click on the add button for Azure DevOps.
Here your screen will be divided into the following three sections:
- In “Configuration”, define a name to identify the integration, write a description, and select the service catalog categories from which the DevOps Items can be linked.
- In the “Authentication” module, enter the name of the organization created in Azure DevOps, and fill in the Access Token you generated in the first step. You can click on “Test” to validate the credentials and ensure you haven’t made any mistakes.
- Finally, in the “Permissions” section, define the users (based on their roles) that will have permission to link DevOps Work Items to Service Desk requests and that can view the details of them in the requisition. Consider that when you select each role, this includes the mentioned role and its parent; so, for example, “Agents” also includes managers, and administrators, and “Managers” also includes administrators.
To finish, click on “Save”, and your integration is complete and ready to be put into action.
Authorized users will be able to link the DevOps Work Items directly from the opened request by clicking on the + icon, for relationships, choosing the option “Add External Entity”, and filling in the Work Item ID.
Ready to unlock the power of this integration?
The InvGate Service Management and Azure DevOps integration bridges the gap between your development and support teams, providing your service desk with enhanced visibility to streamline their issue resolution capabilities.
It adds on to InvGate Service Management’s full list of integrations that enable you to expand the tool’s functions and ensure you are providing high quality service delivery.
The setup process is straightforward; in just a few minutes you can have it up and running. And, to discover everything you can accomplish with InvGate Service Management and see what the integration looks like in practice, don’t hesitate to book a call with our experts, who can help you clear any doubts.

